One of the most common (and important!) labs in AP® Environmental Science is the Soil Salinization Lab.
There are many versions of the lab that are great. This is a robust 5E version with added questions, analysis, class data and a follow-up LC50 calculation along with teacher’s guide and answer key that I developed this year (2021). Click for my free in-person version that I used for many years. In 2020 I created a special 5E distance learning version where students can use basic kitchen supplies and it is found here)
(Side note: I am a HUGE fan of inquiry, but I do not do an inquiry lab for this topic for a couple of reasons. I want kids to do a proper controlled experiment before they do experimental design later on. They can refer to this lab when they are designing their own later in the year. This is part of scaffolding. With each controlled experiment (such as Ocean Acidification), I remove more instructions and parameters. Another reason is that I also want the kids to test specific concentrations of salt, because we use the results for an LD-50 lab later in the year.)
Materials
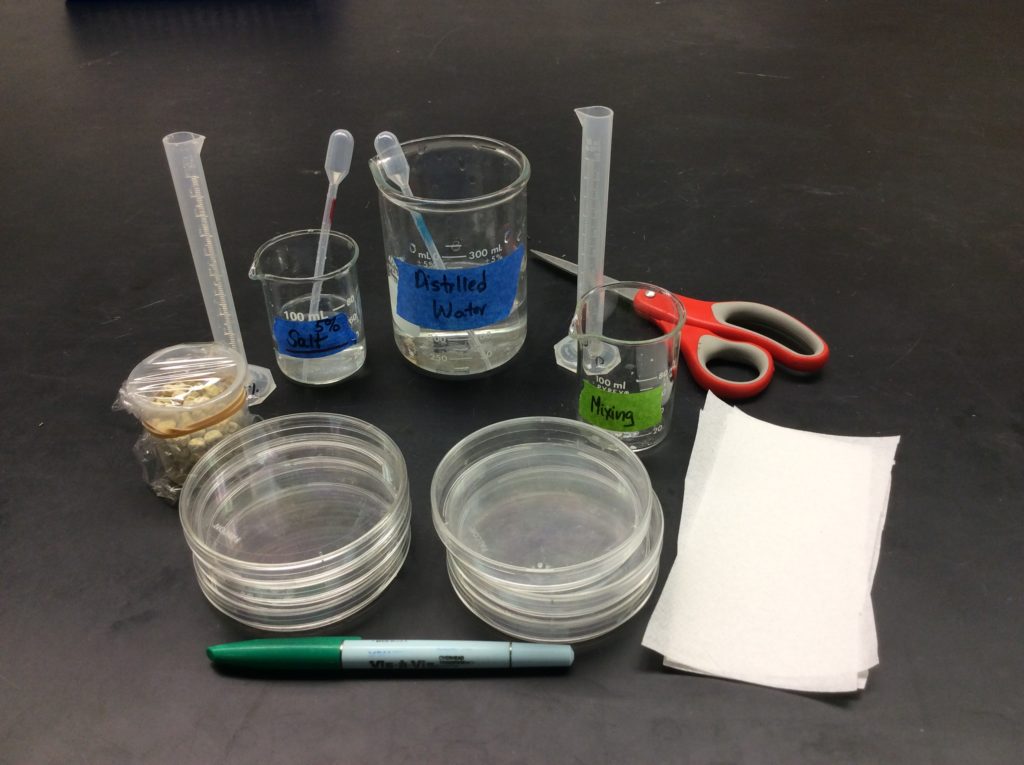
- Seeds
- Graduated cylinders with optional pipets to help kids with precise measurements. Mark one graduated cylinder for the 5% solution and one for the distilled water. Same with pipets. This prevents cross-contamination. Train the kids to be careful and prevent cross-contamination. Even a couple of drops of salt left over in a graduated cylinder can influence results.
- Overhead markers
- Scissors to cut paper towels
- 5% salt solution (mix yourself)
- Distilled water
- Beakers
- Petri dishes or ziploc bags. Petri dishes can be reused for an air pollution lab-Airborne Particulates.
Prepare a 5% salt solution by mixing 5g of NaCl (Table salt) with 95ml distilled water. Make enough for your classes. I make about a liter for my 5 classes of APES.
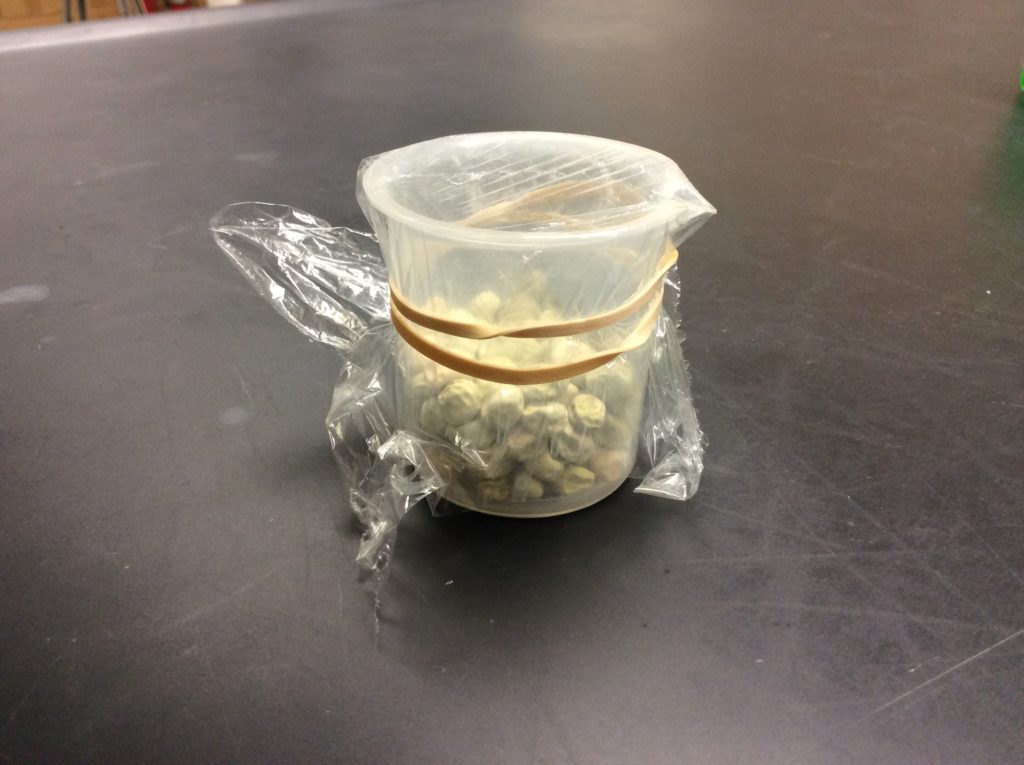
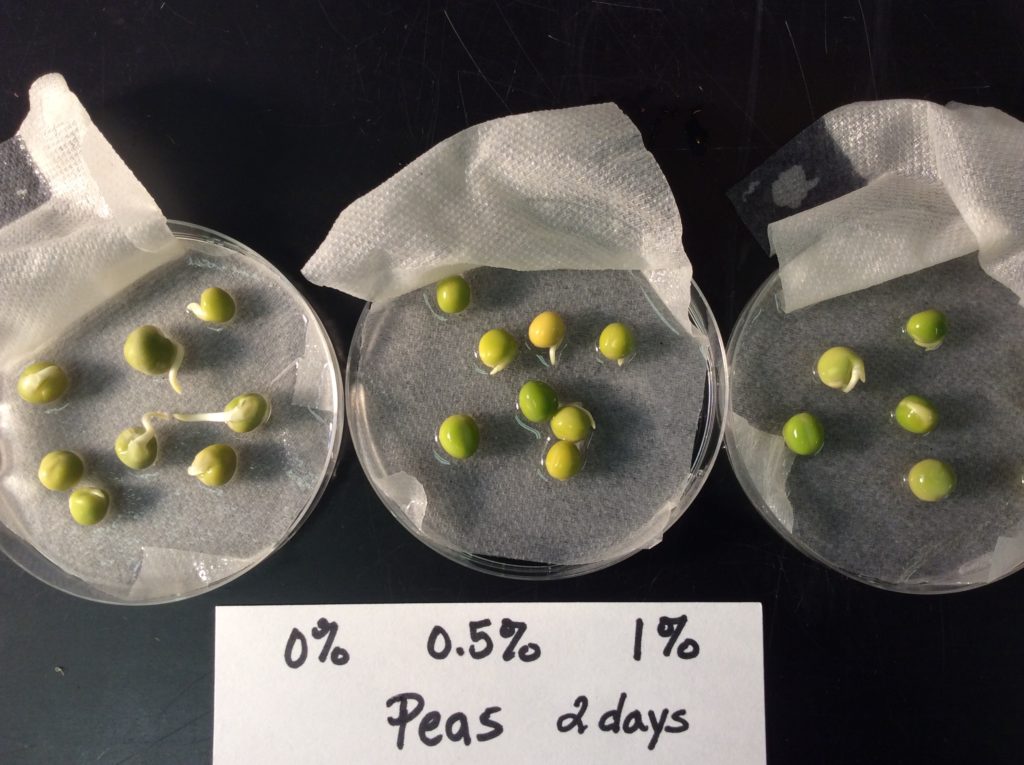
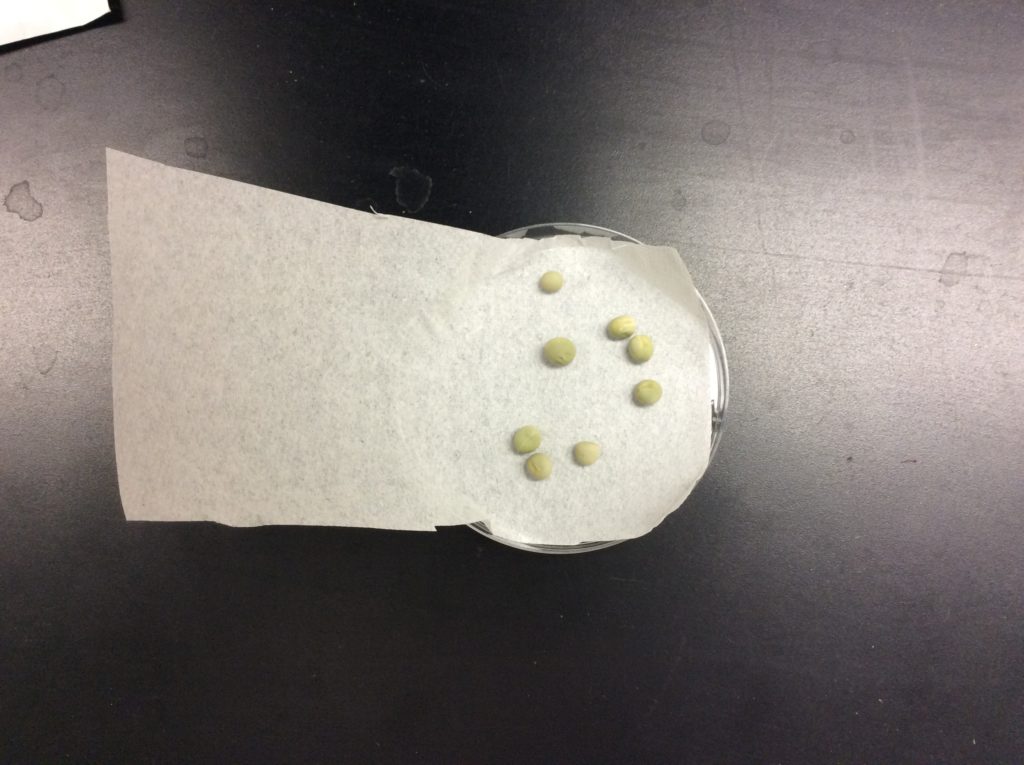
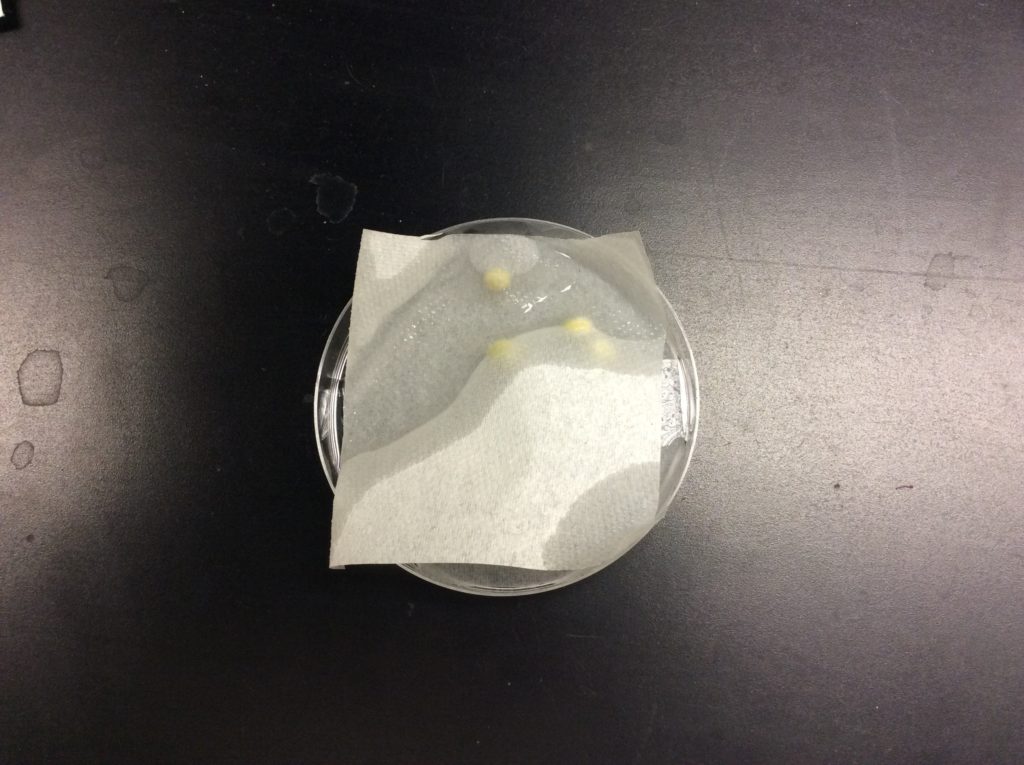
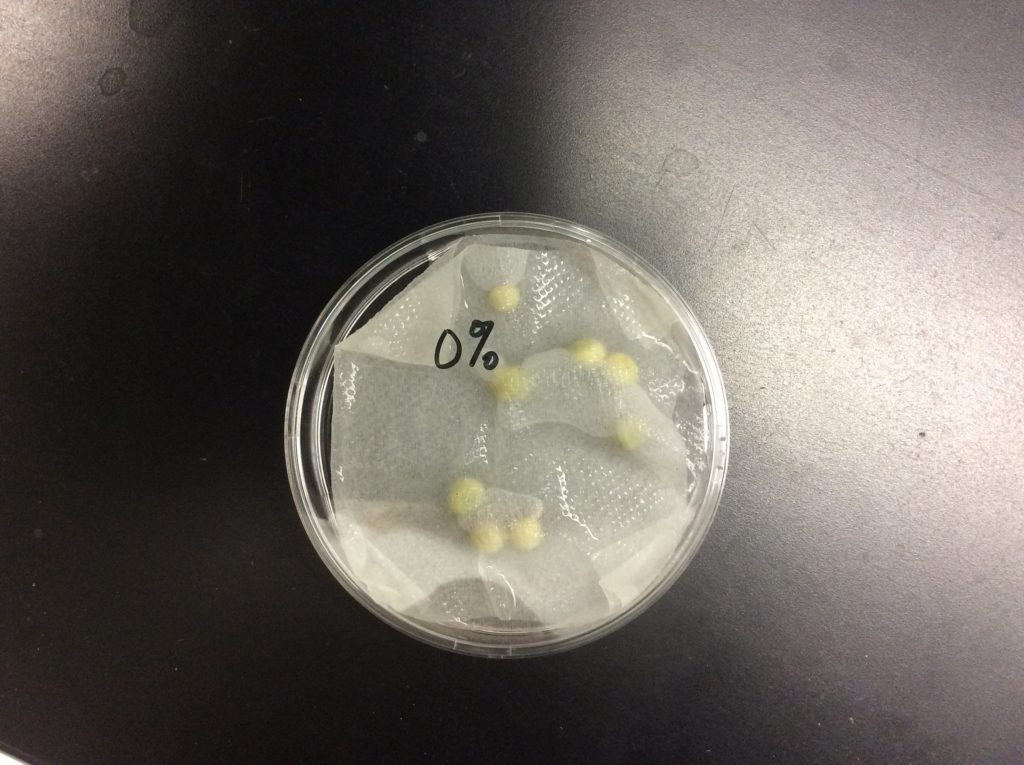
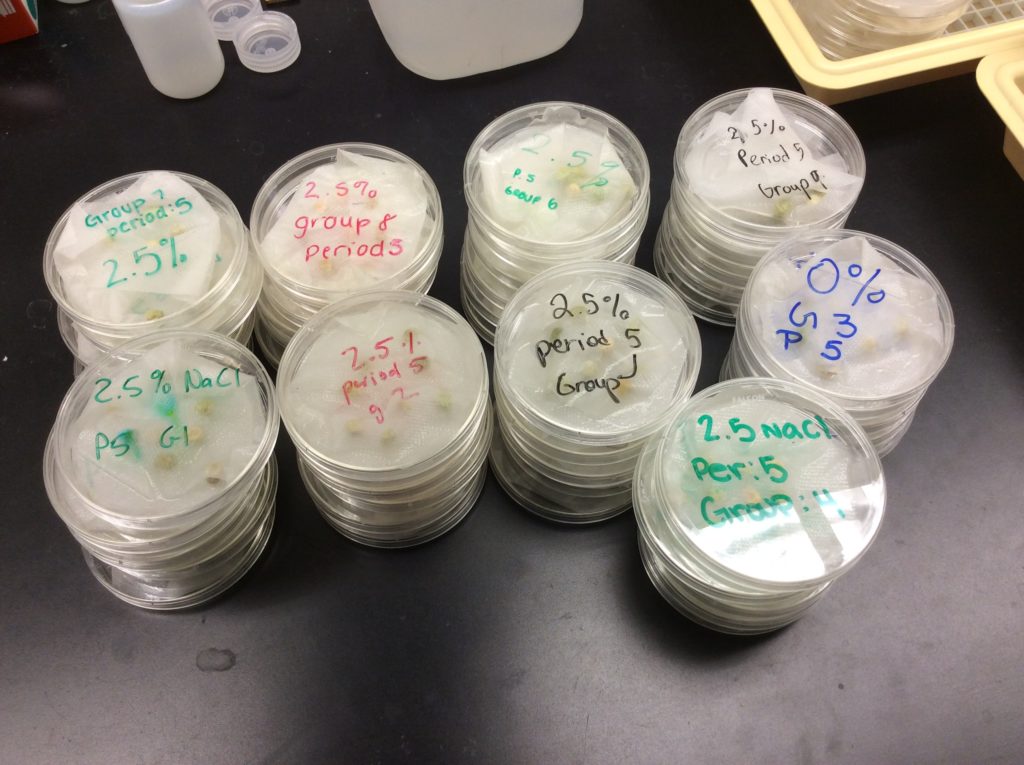
I like pea seeds and prepare these containers for the groups. Tell the kids to keep covered to prevent fungi contamination. Fungi does ruin the soil salinization lab on occasion. I’ve had it happen once in 12 years. Use very clean petri dishes and keep beakers covered when not in use to prevent this.
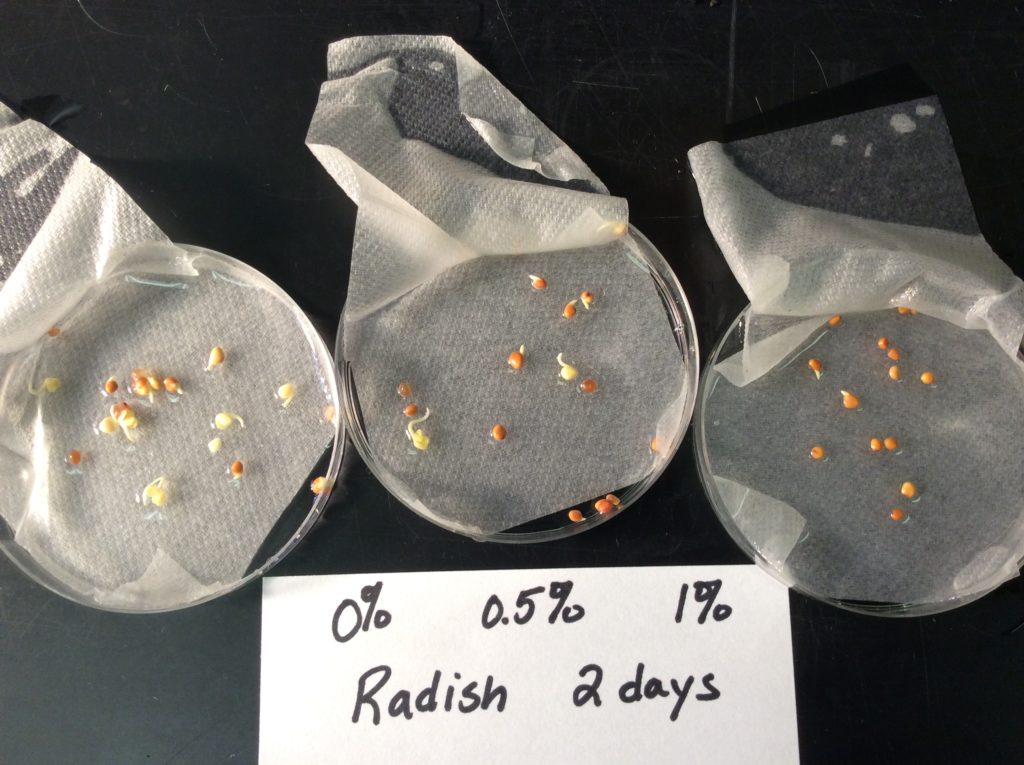
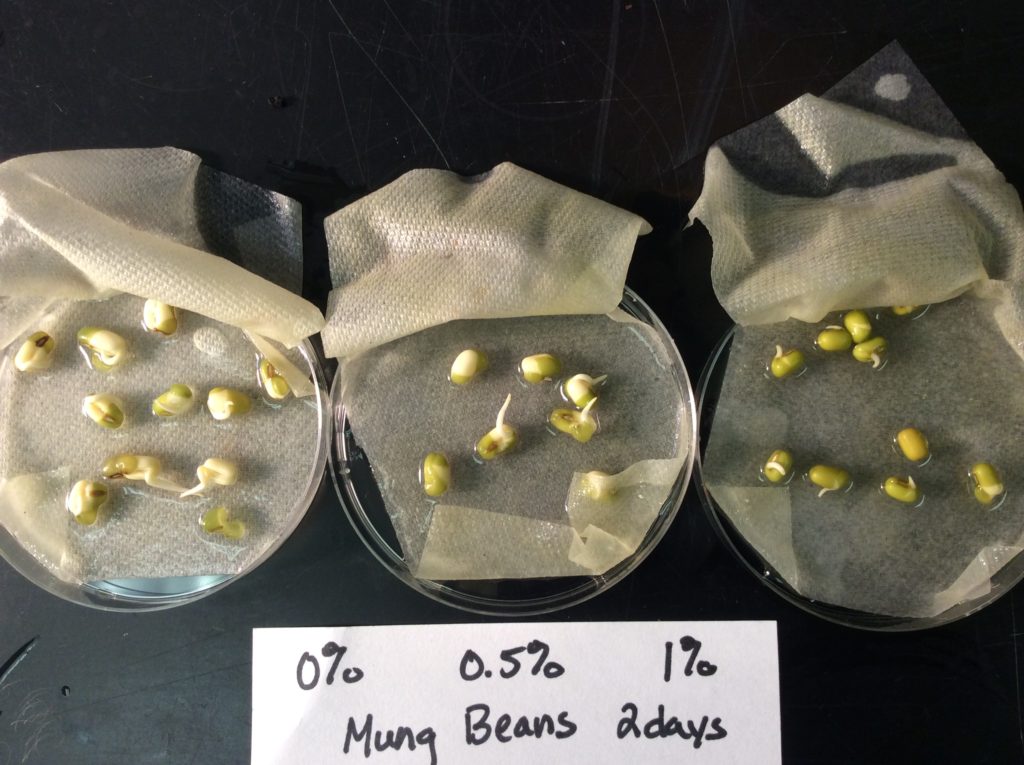
What seeds to use?
I’ve used peas, mung beans and radishes for soil salinization over the years. My favorite is peas, but the others work as well. Radishes tend to have lower tolerance to salt. You can even have students test different seeds in different groups. Mung beans sprout quickly and have a nice tolerance to salt as well.

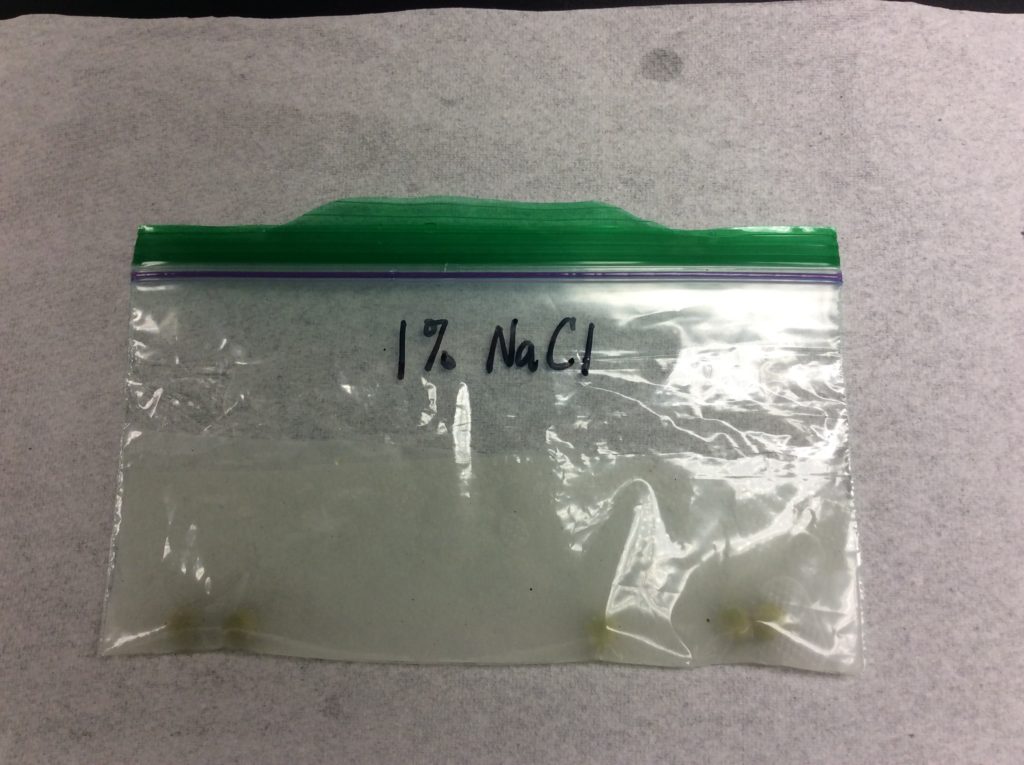
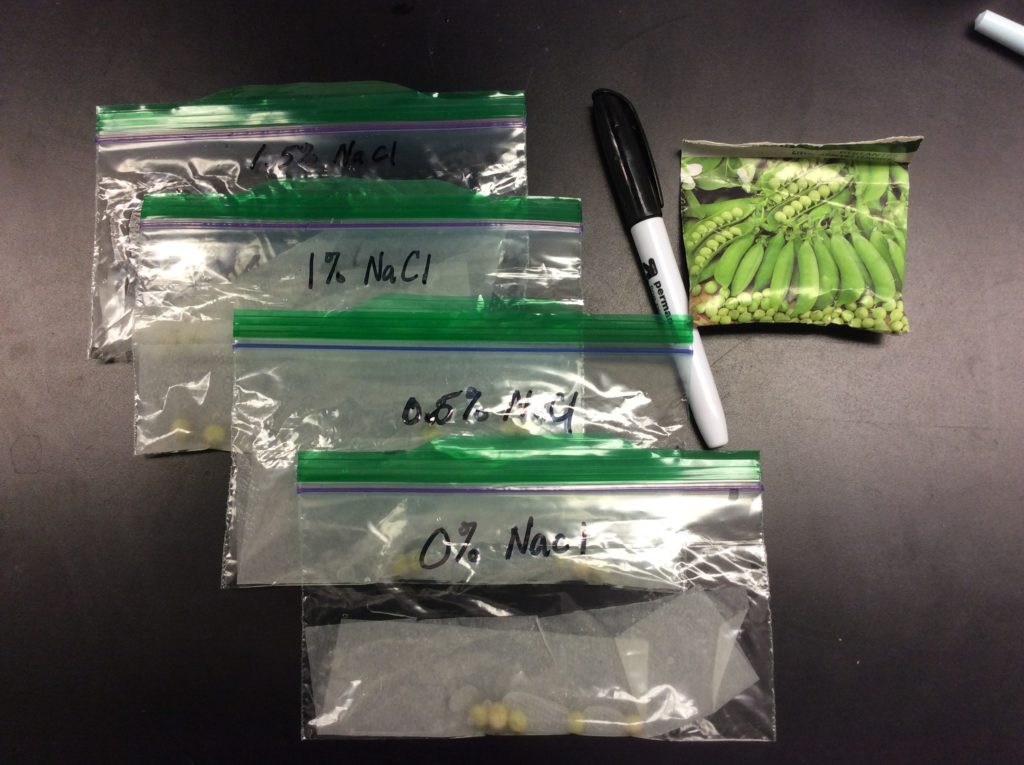
Using Ziploc Bags
I use snack-sized Ziploc bags with my online APES class that I meet with on Saturday mornings a few times a year. The bags are convenient as I don’t need them back when the lab is over and they’re inexpensive. In my regular classes, I prefer petri dishes as they can be reused from year to year and are easier for the kids to work with the seeds.
The write up using ziploc bags can be found here. I also use a Flipgrid conclusion so they can film their results and show me at home.
Use a sharpie to mark the bags and create a paper towel “taco”. Wet the paper towels before putting the seeds in or they roll around too much.
Day 1 of the Lab
Go over the first page of the lab together with students. They have difficulty with the terms (control, variables, constants) if they’re out of practice. Also, teach the students to use words such as “increasing” or “decreasing” in their hypothesis as this is good practice for FRQs. Its also more of a “collegiate” and precise hypothesis.
Students need to do the math for serial dilution before beginning the lab. I usually go how to do the math and then they can easily solve.
After doing the math, they can prepare the soil salinization dishes.
Make sure they use separate graduated cylinders for 5% NaCl solution and distilled water. Have a “mixing” beaker to mix the solution before pouring over the seeds. This makes sure that the solution is evenly mixed.
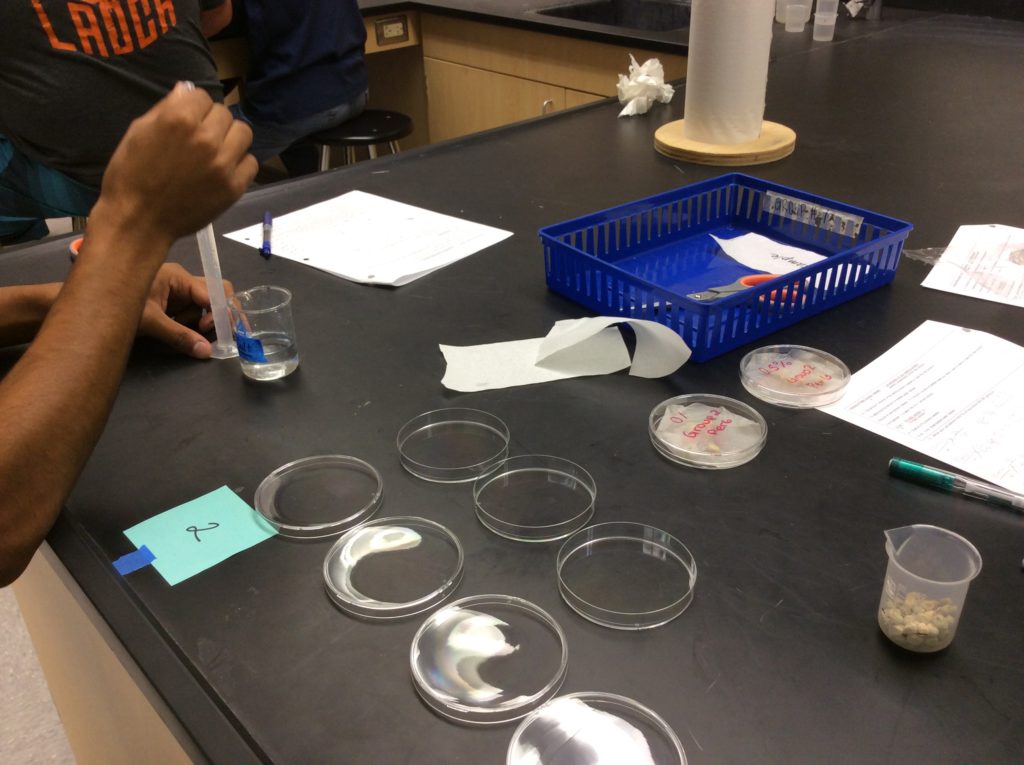
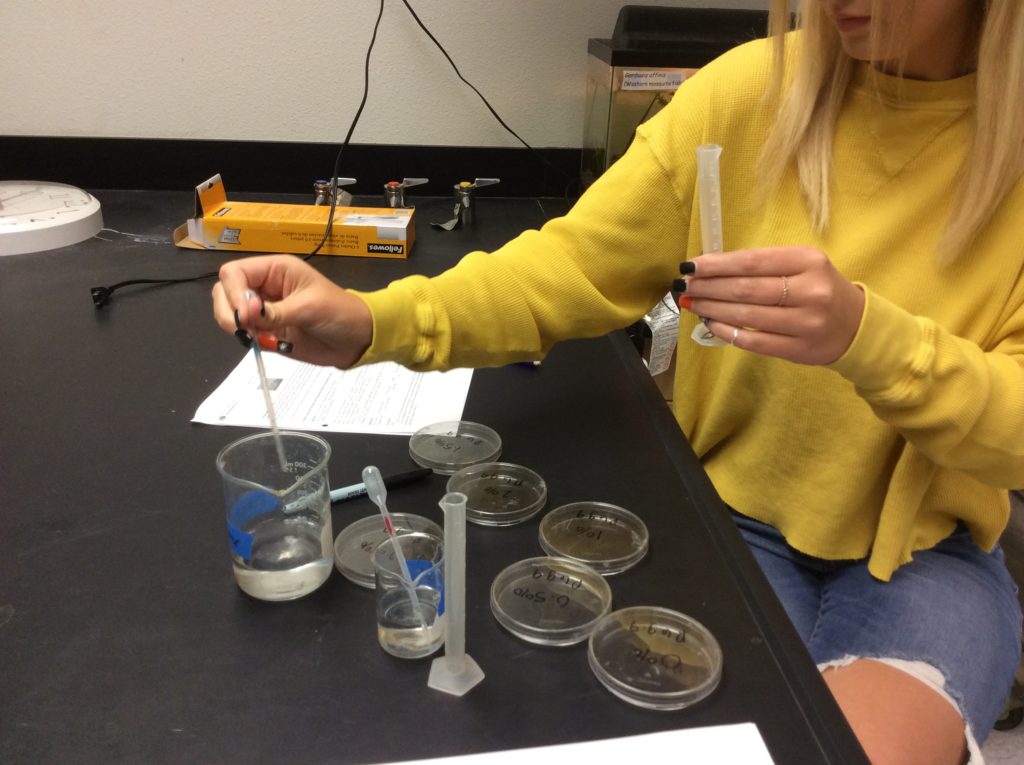
Best way to prepare the dishes

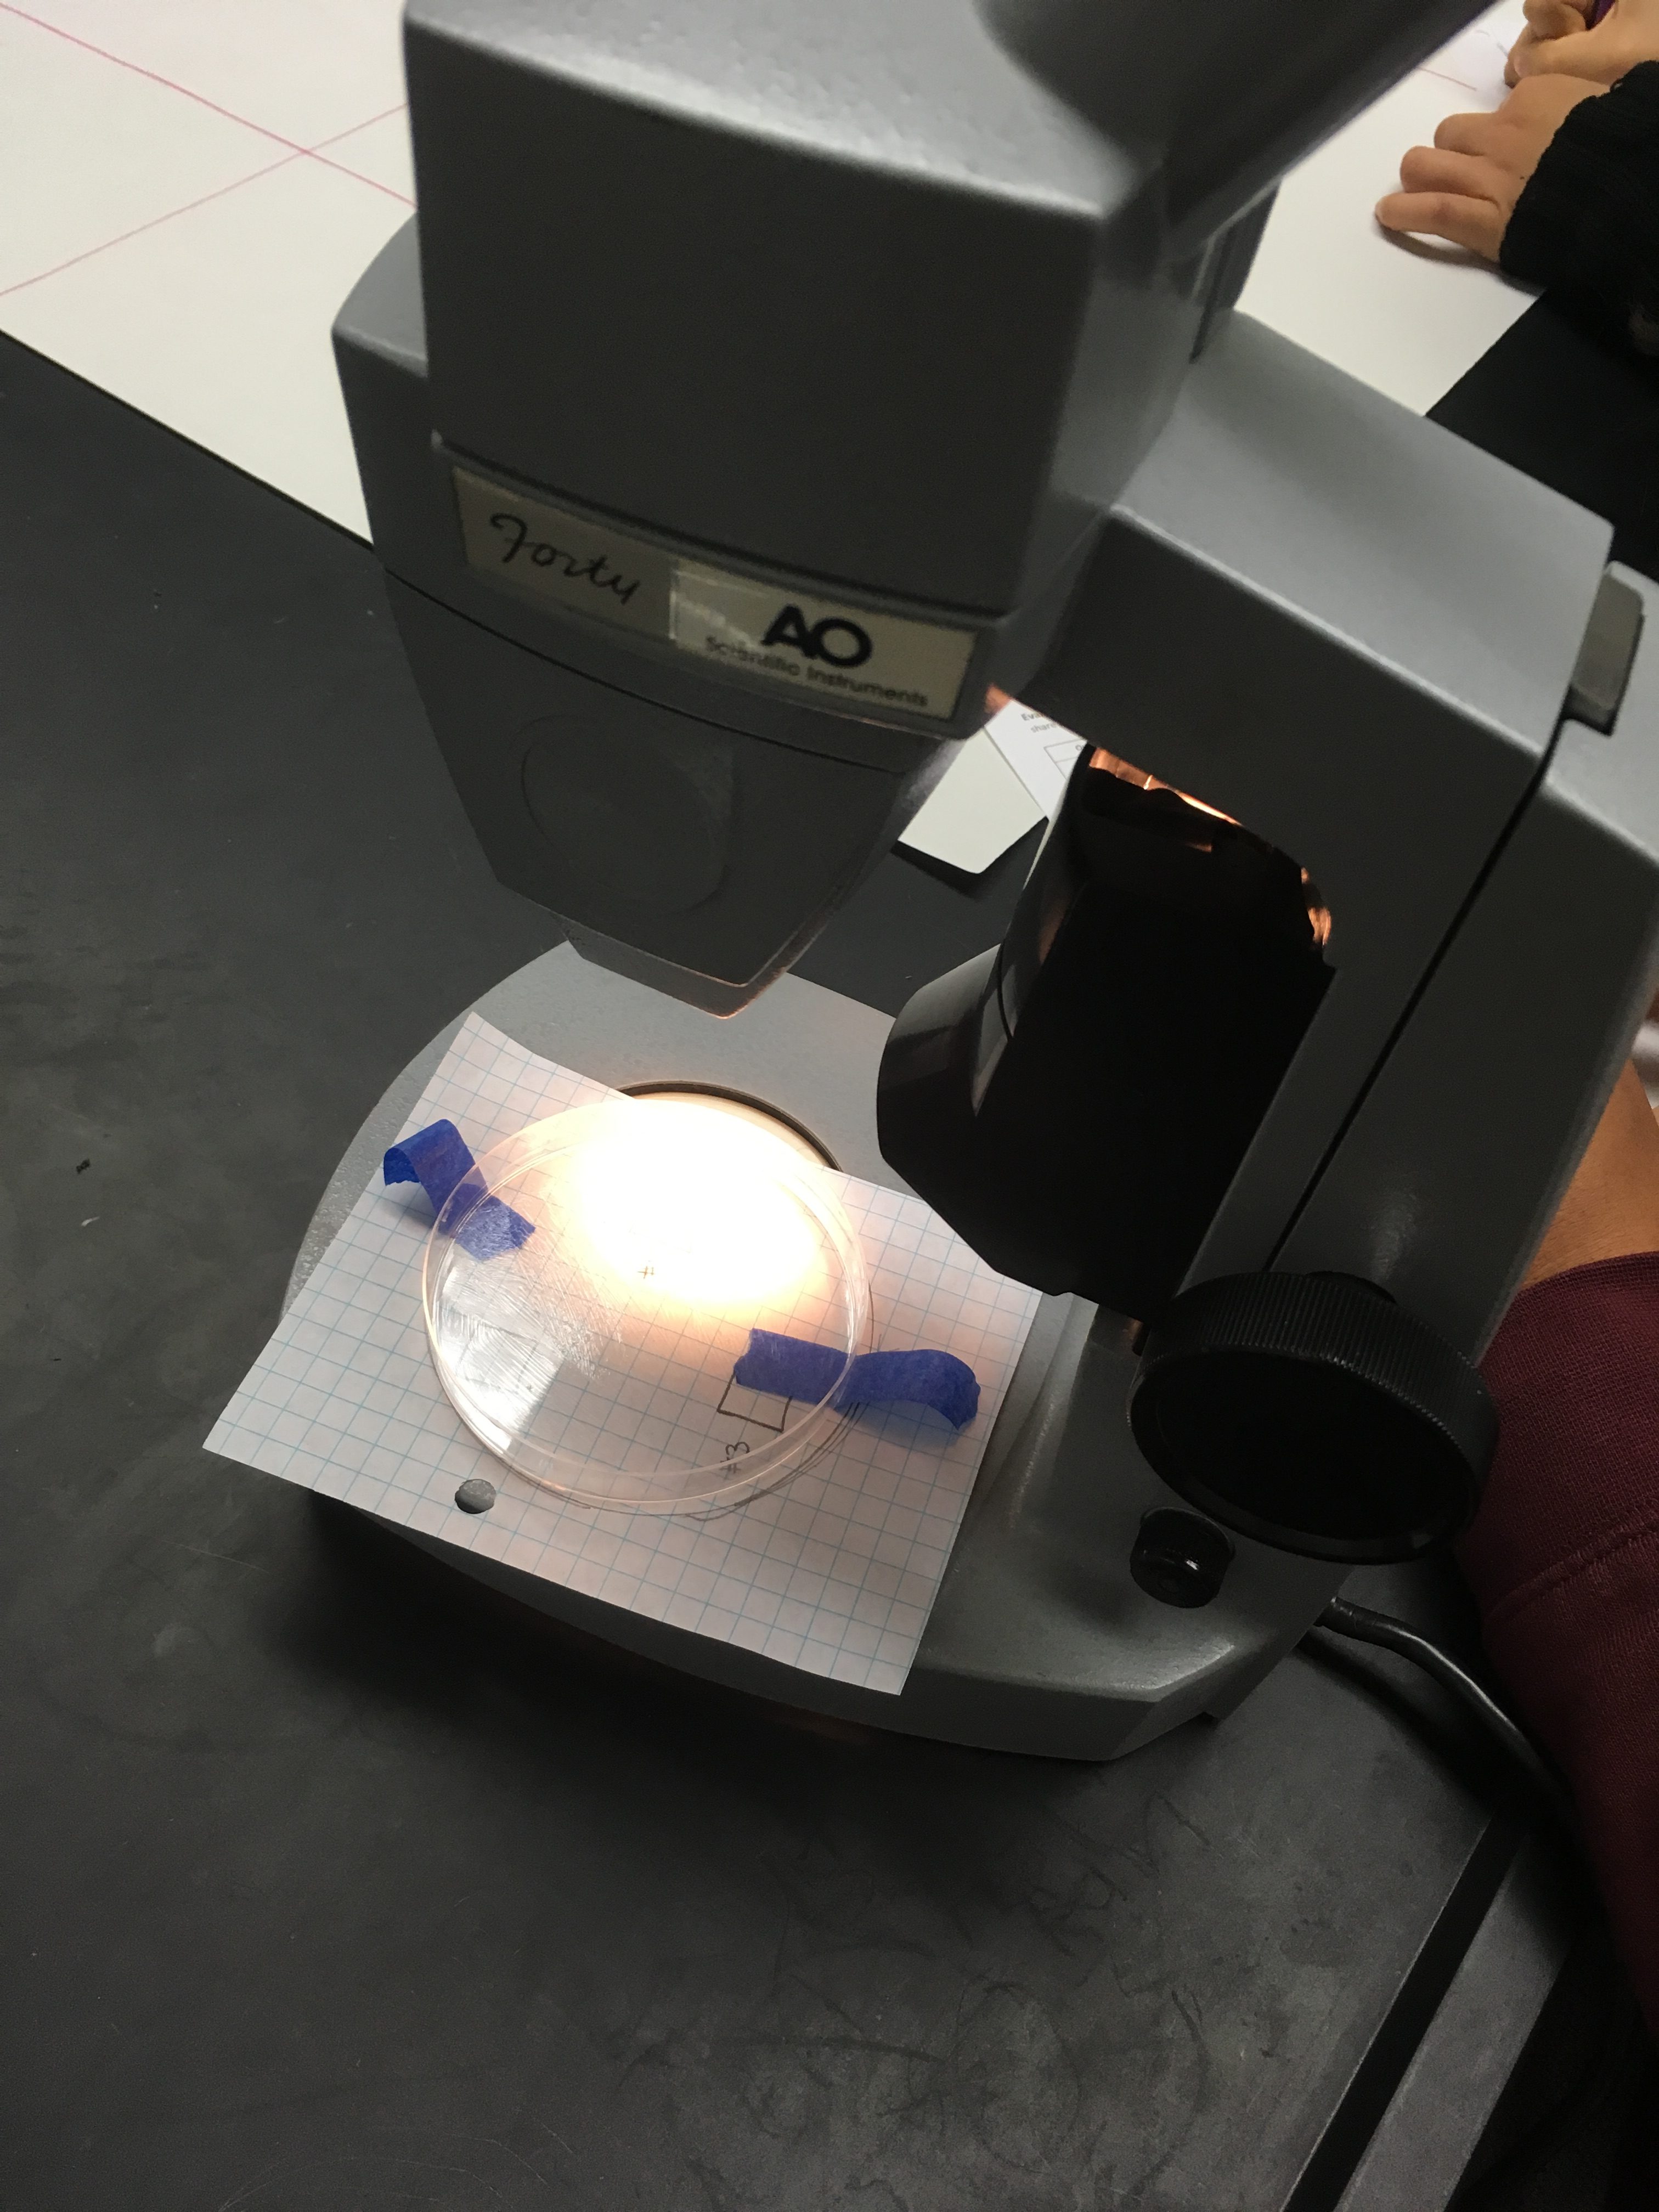
Day 2 the lab (3-4 days later is optimal)
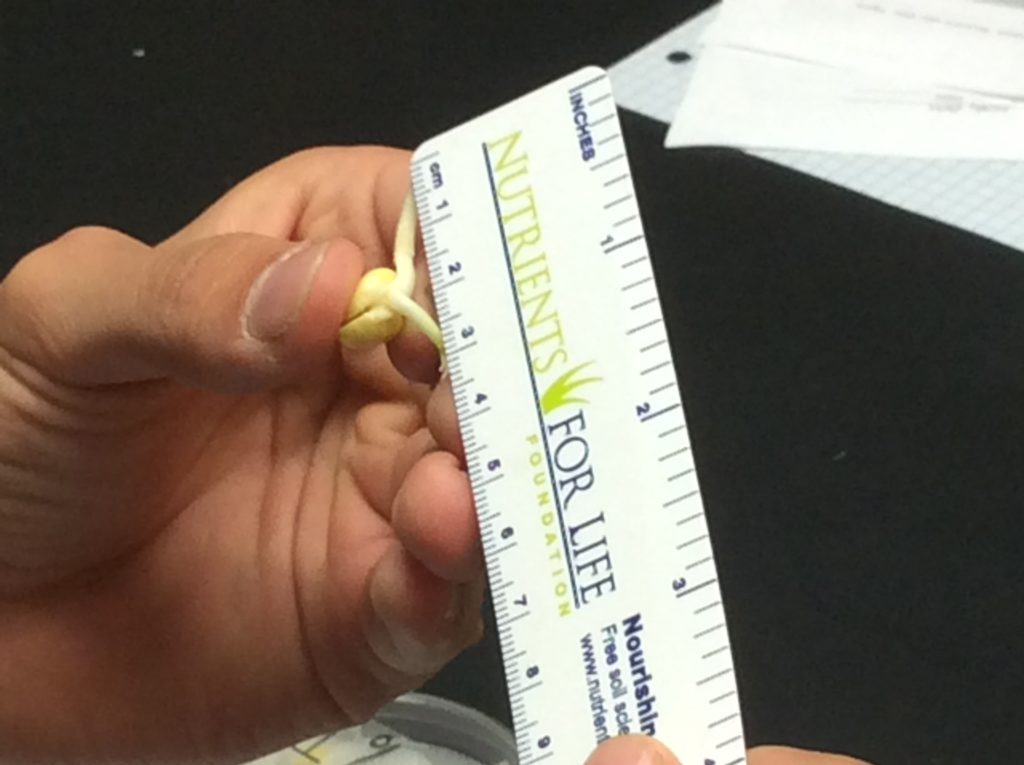
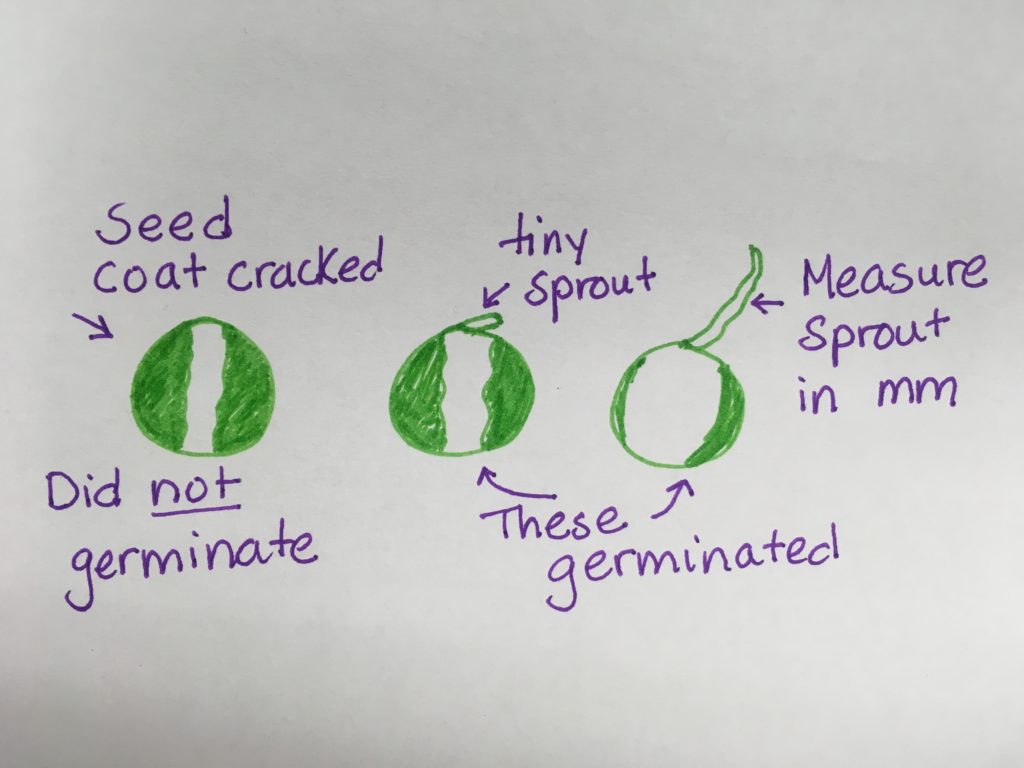
Students will take data on the # and % of seeds that germinated and measure the sprout length. I tell students to measure the longest sprout in each dish.

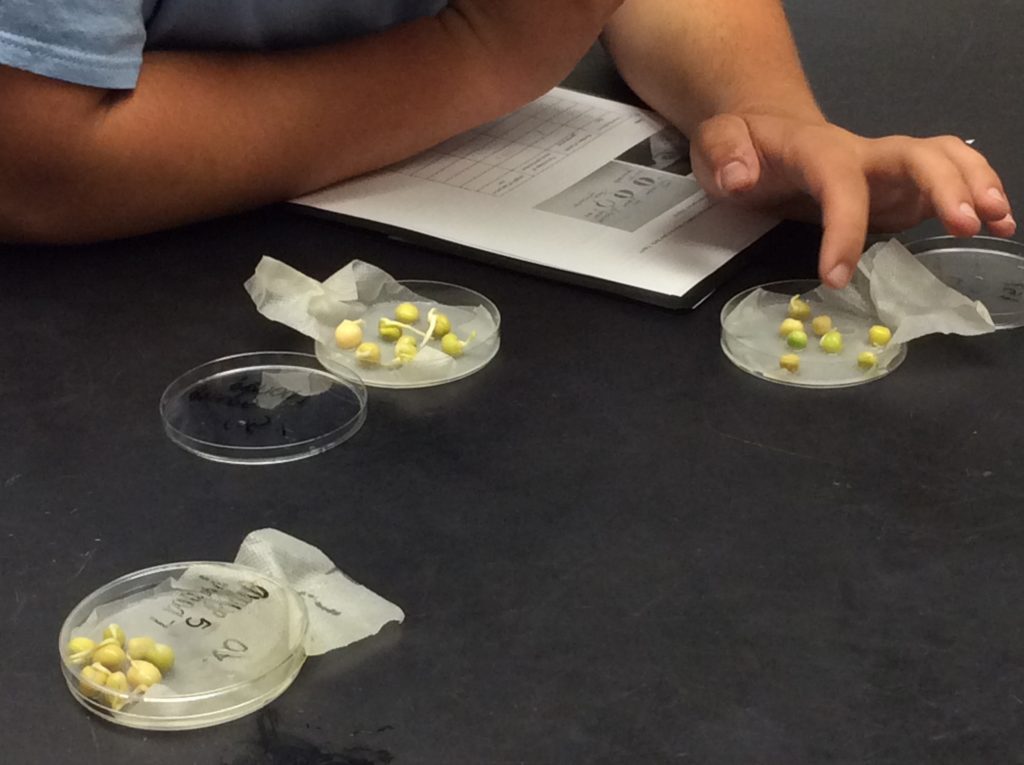
Results take about 15 minutes. Then students wash and dry dishes. I store and use the dishes again for an air pollution lab and again next year.
10 thoughts on “Soil Salinization Lab”