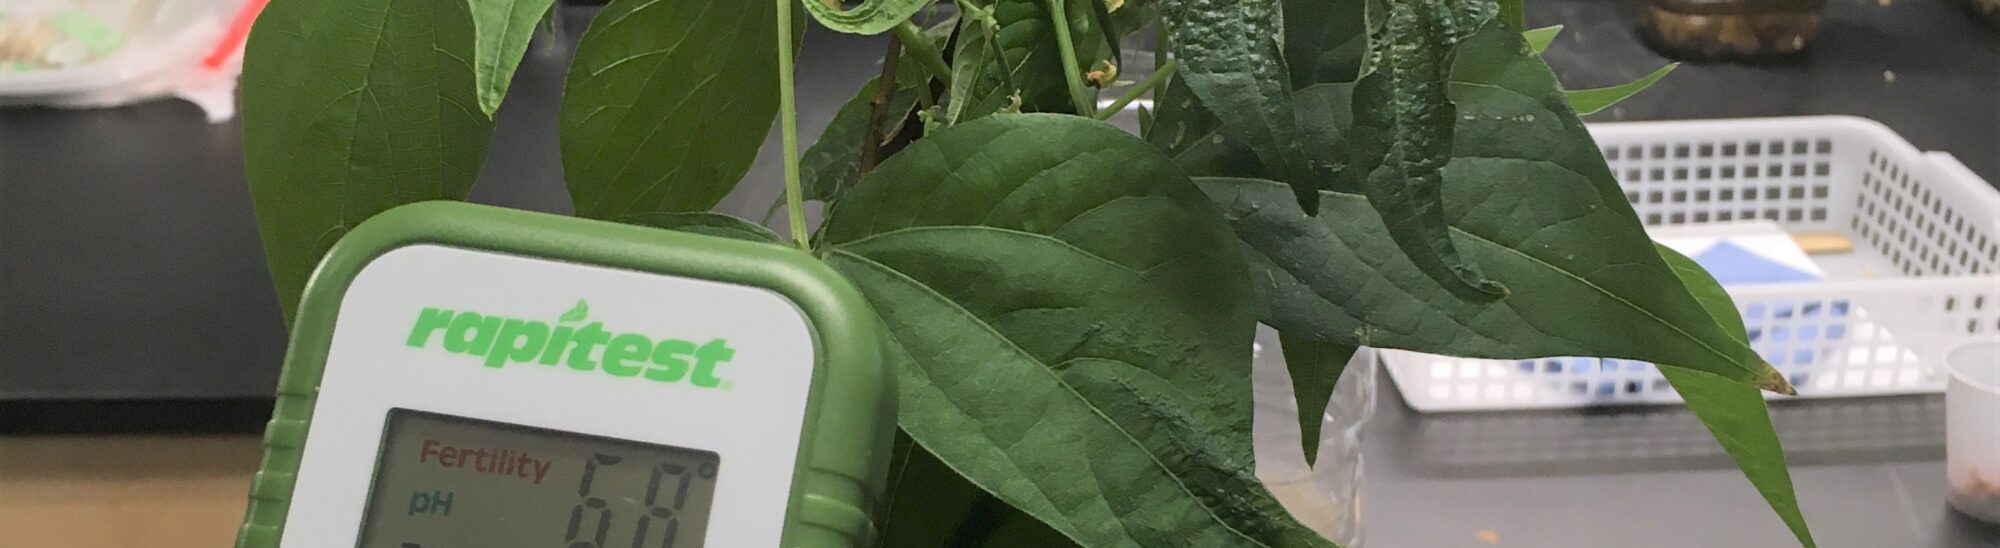
Students thoroughly enjoy building ecocolumns. Building usually takes 2 full periods (45-55 min) or one block period. The example here is of an an ecocolumn with three chambers, a terrestrial chamber on the top with soil, plants and invertebrates, a filter chamber with sand and gravel, and an aquatic chamber with fish and water plants. For supplies needed, read the previous post.
Update 2022: I changed things in my own classes slightly. Instead of burning holes in lids for drainage, I use screen door material purchased from the hardware store. The instruction sheet above has updates and updated pictures below.
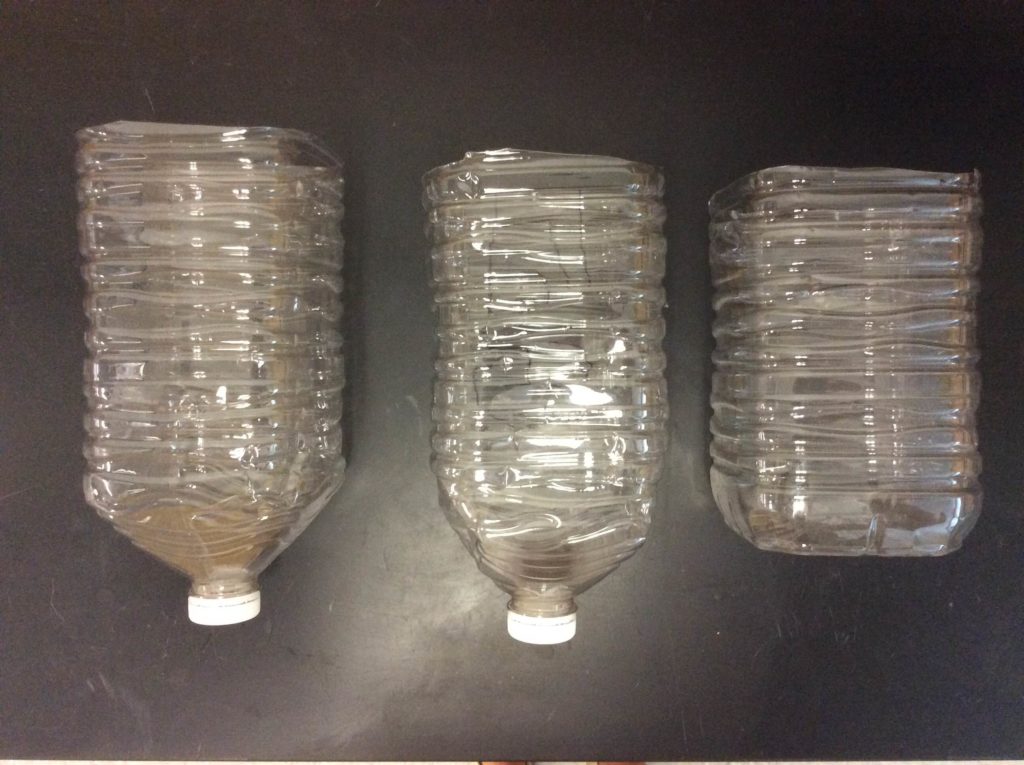
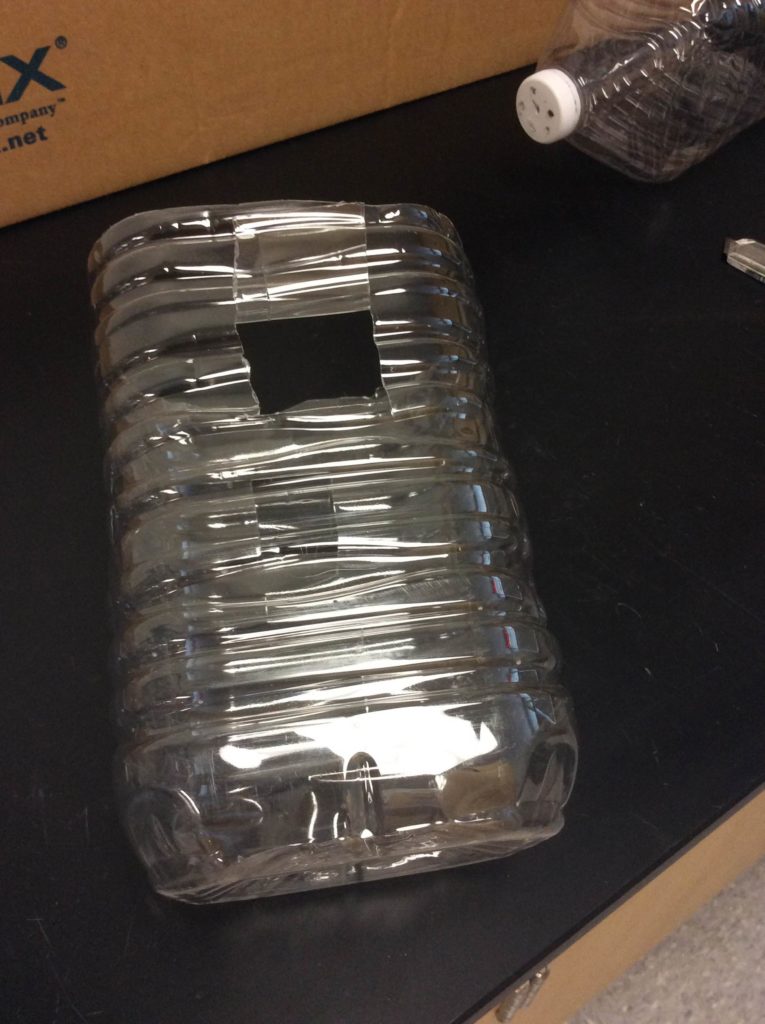
Cutting the bottles
This is a “how-to” video explaining how to cut the bottles and create drainage holes in the lids.
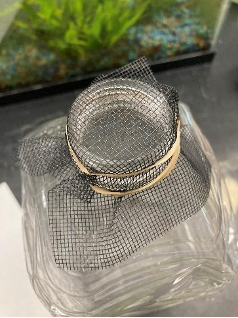
One layer of screen material for the terrestrial chamber
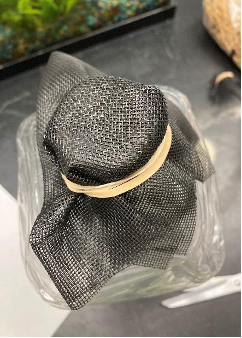
Two layers of screen door material for the filter chamber
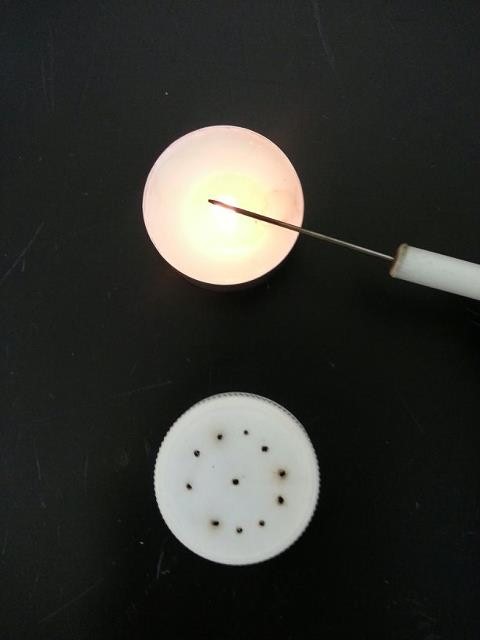
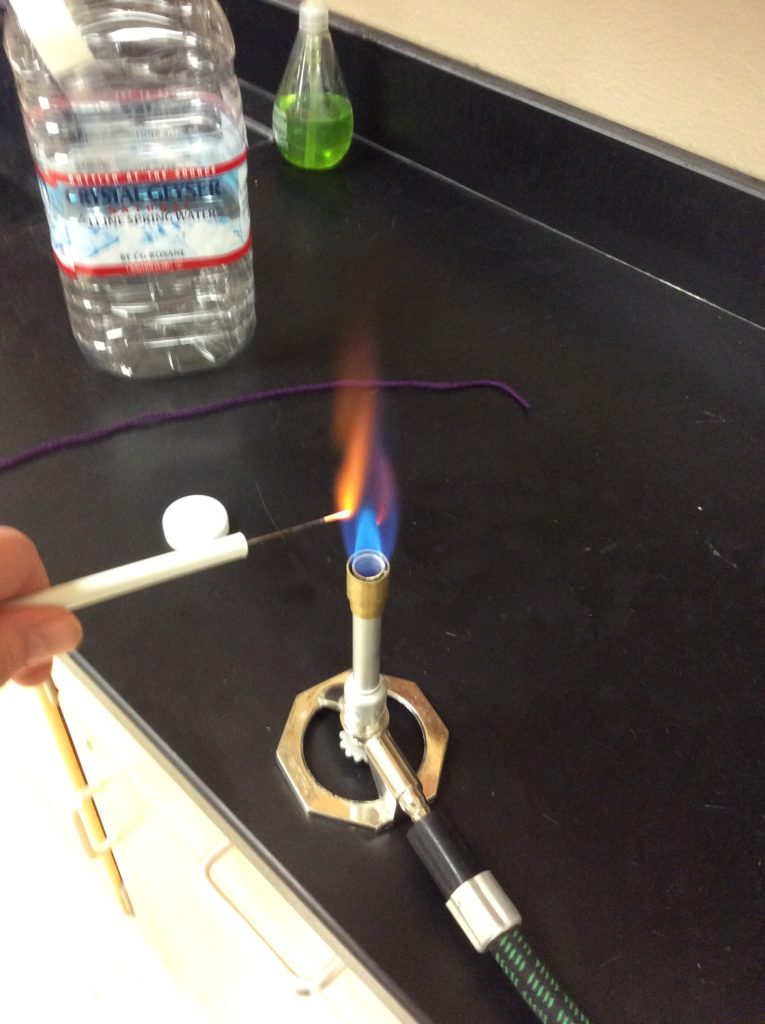
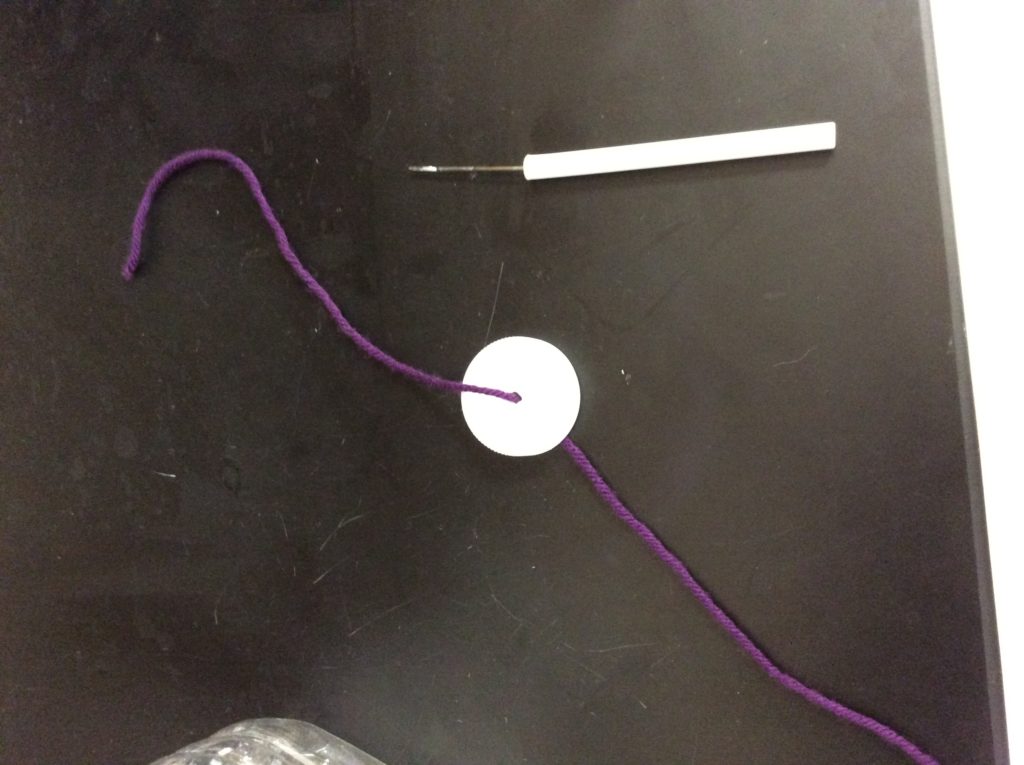
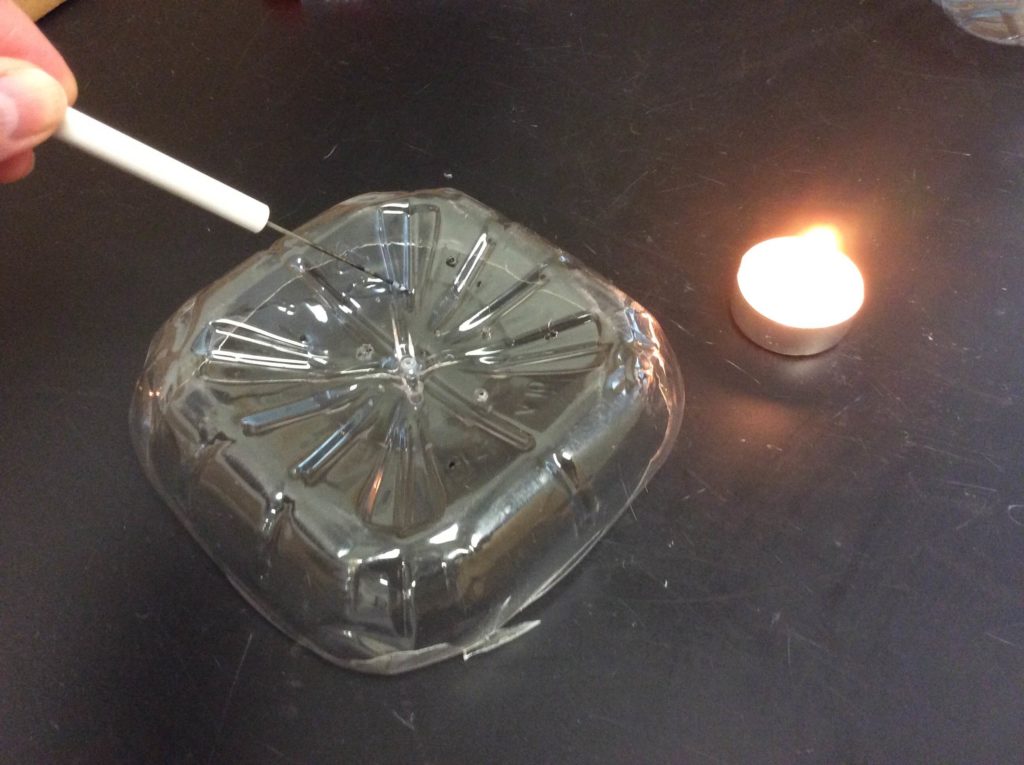
Burn holes in one of the cut off pieces to create a “sprinkler” to gently water seeds
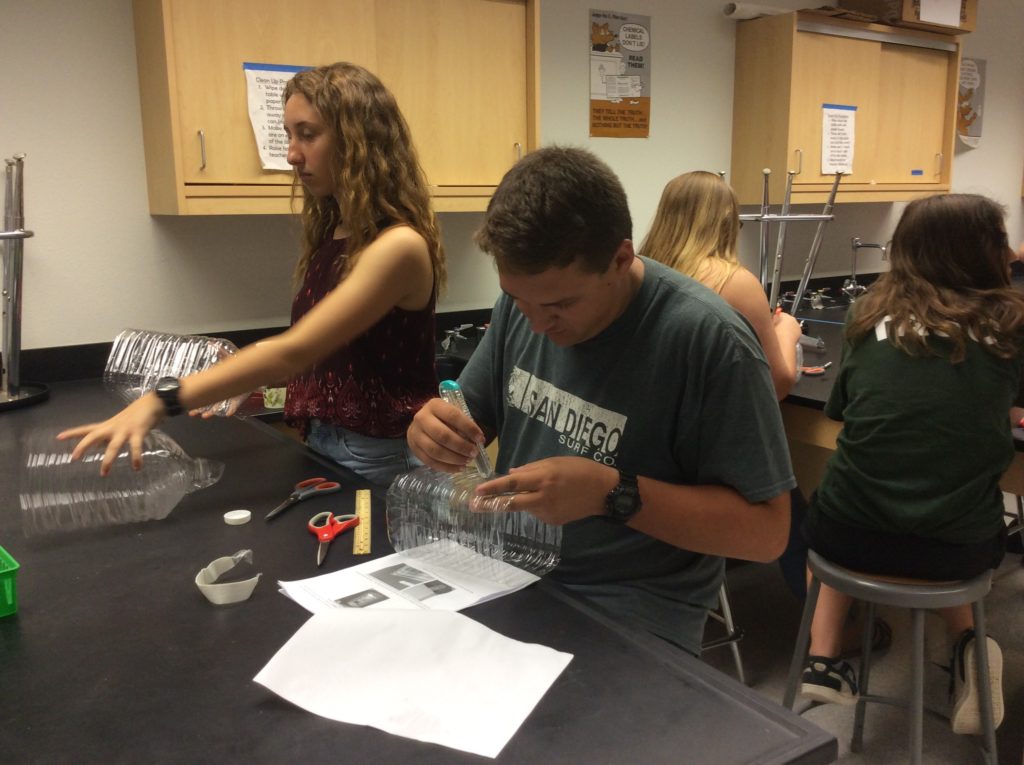
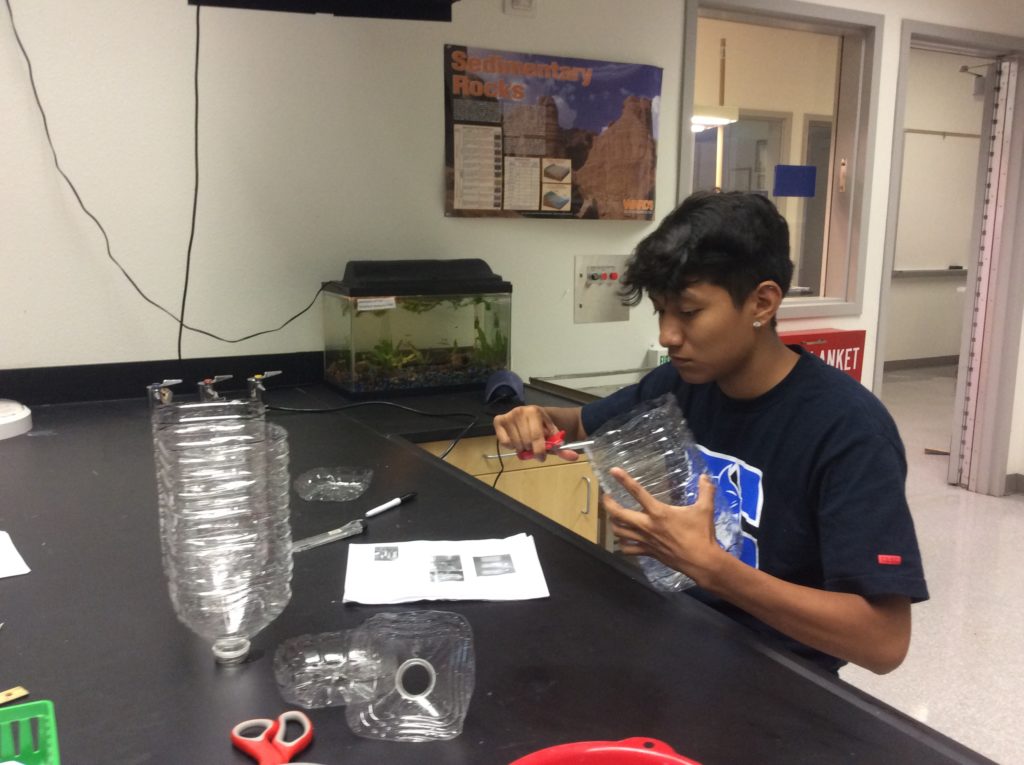
Cutting bottles. Teach students to cut away from the body.
Trimming bottles using scissors so bottles nestle together well.
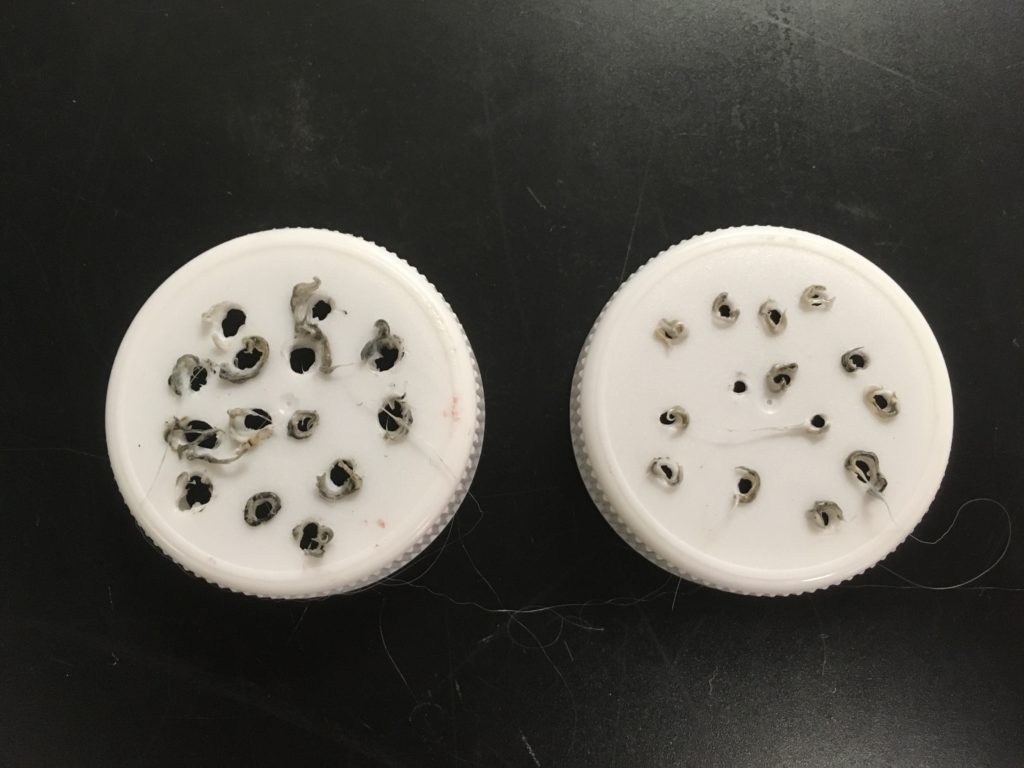
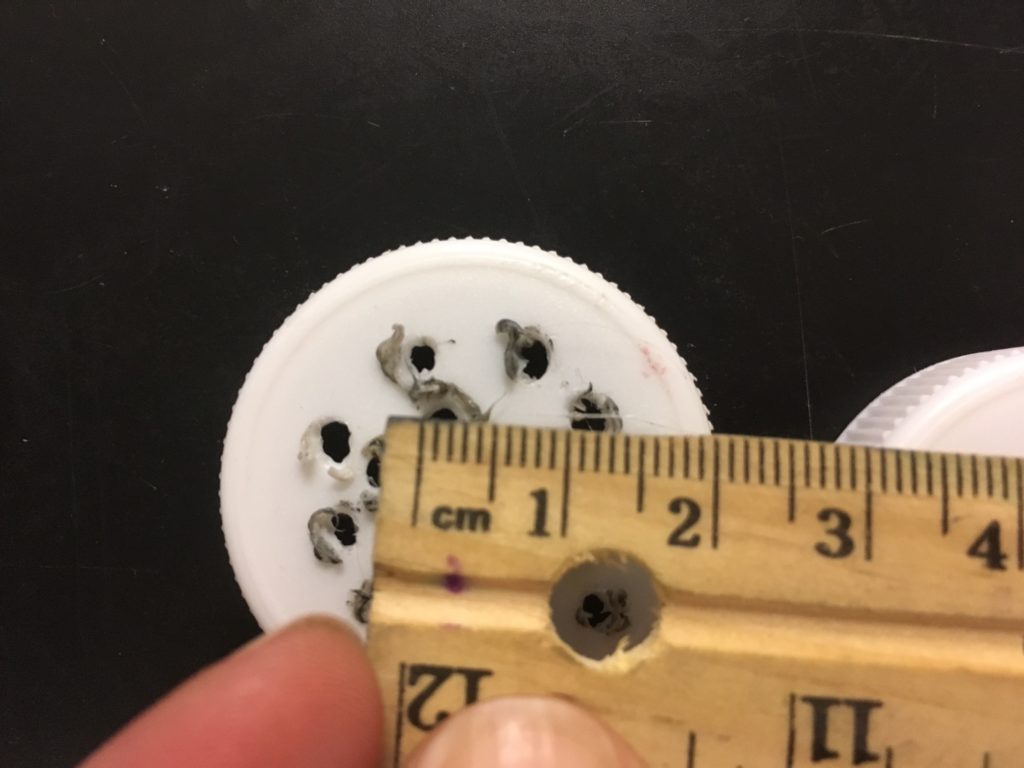
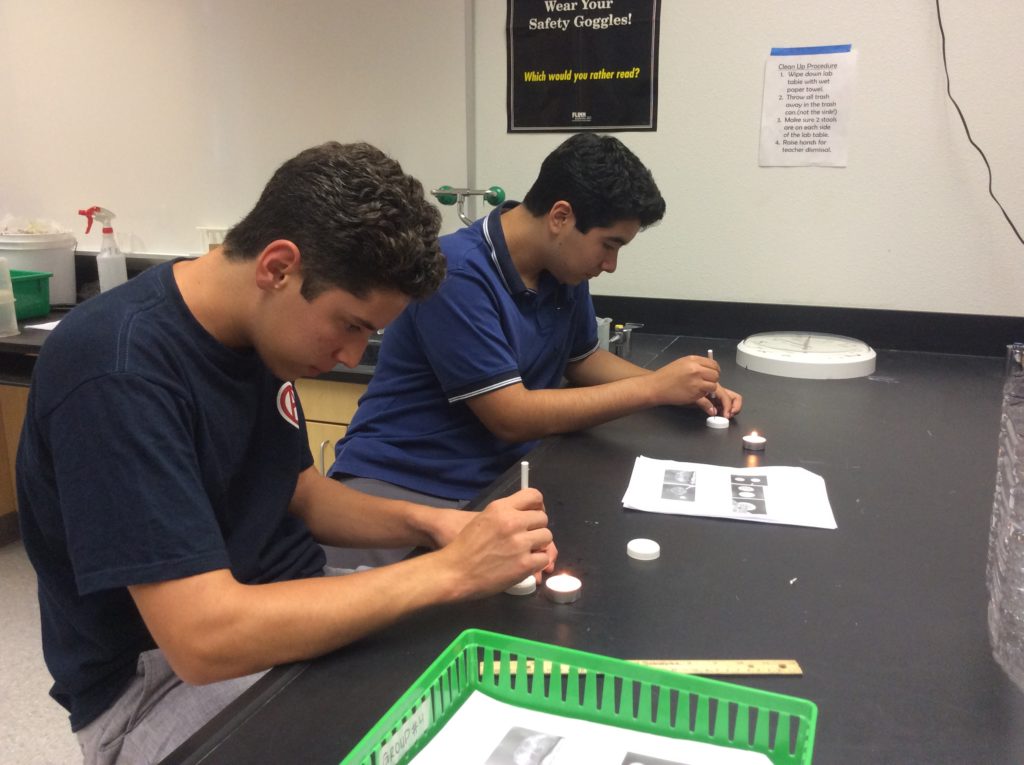
Burning holes in drainage caps
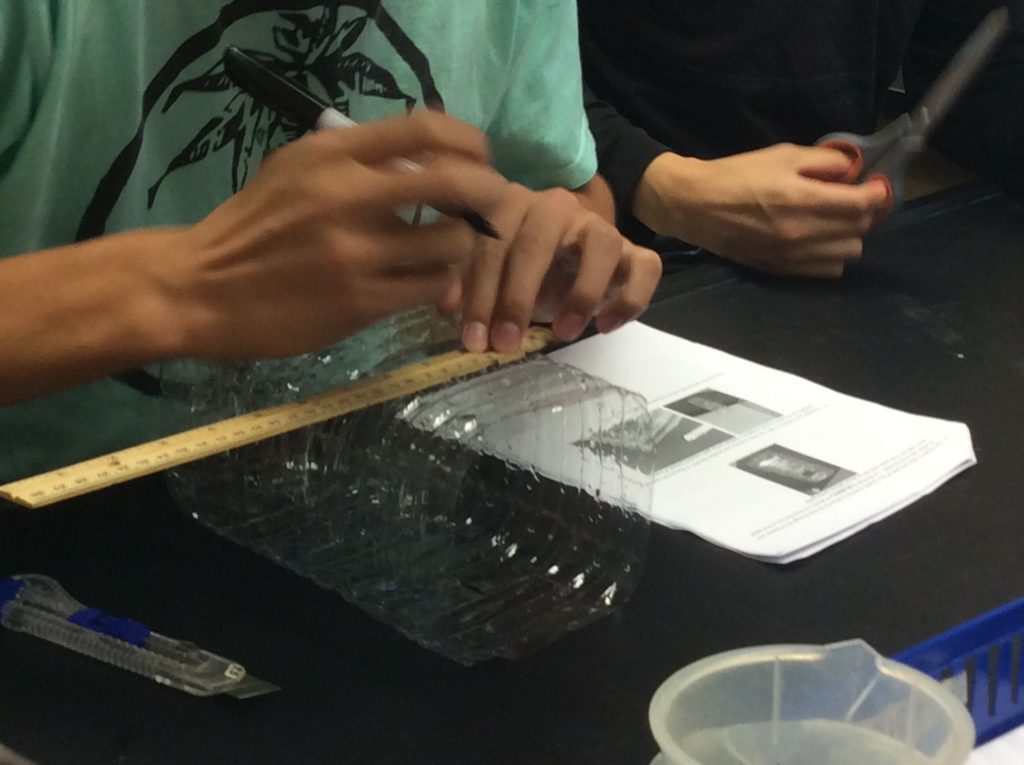
Measuring to make air flow “flaps” or “holes”
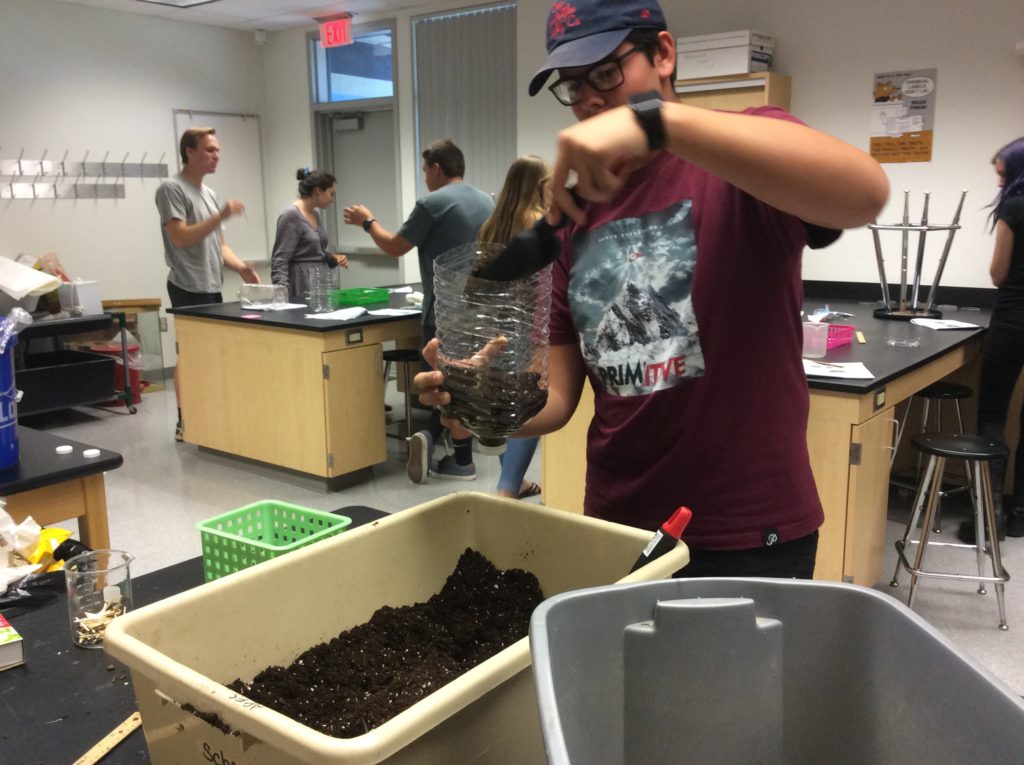
Filling the Bottles
This video shows you how to fill the ecocolumn chambers:
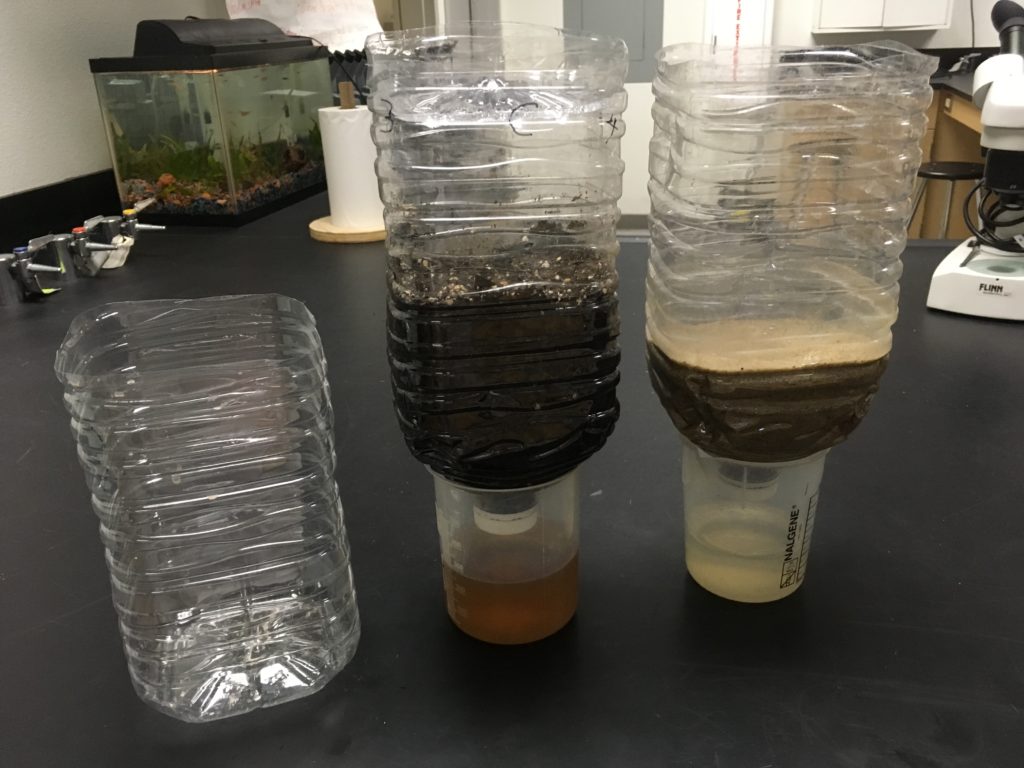
Below are some pictures of how to fill the chambers. Please DO NOT make an aquatic chamber at this time. Many dead fish have resulted from making the aquatic chamber too soon. You must wait 2 weeks.
Add gravel at the bottom of the terrestrial chamber and the filter chamber and then potting soil about halfway up the terrestrial chamber. Add 7-8 cm of sand on top of the gravel in the filter chamber. Let both chambers drain many many times. The sand will drain more slowly than the soil.
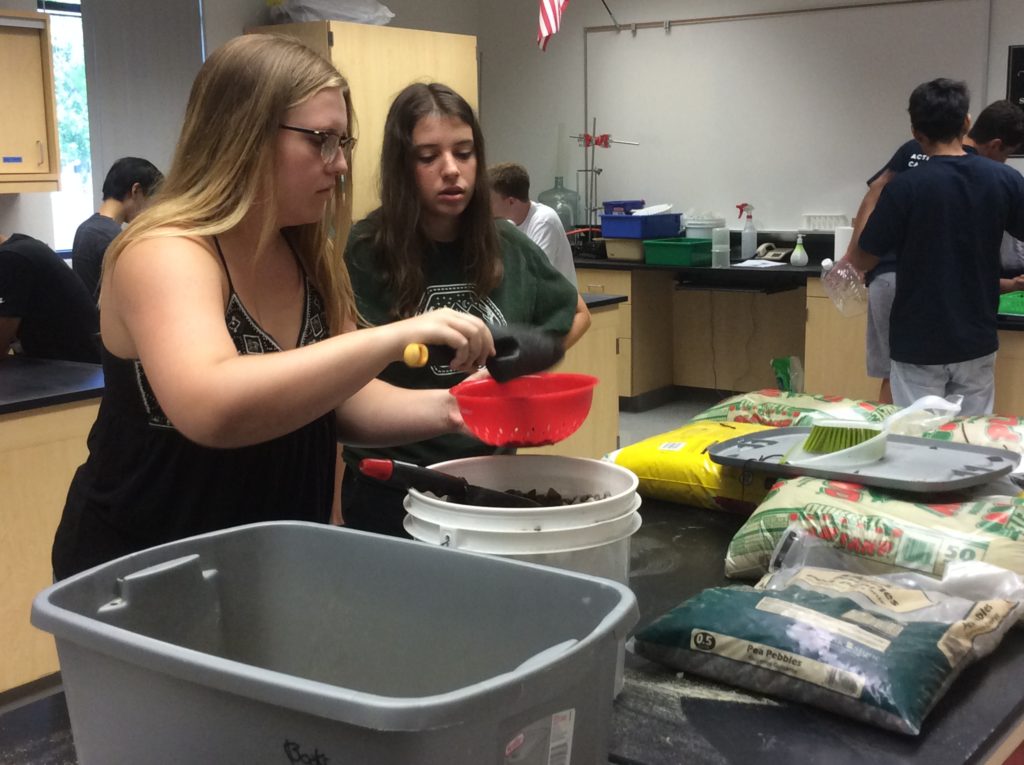
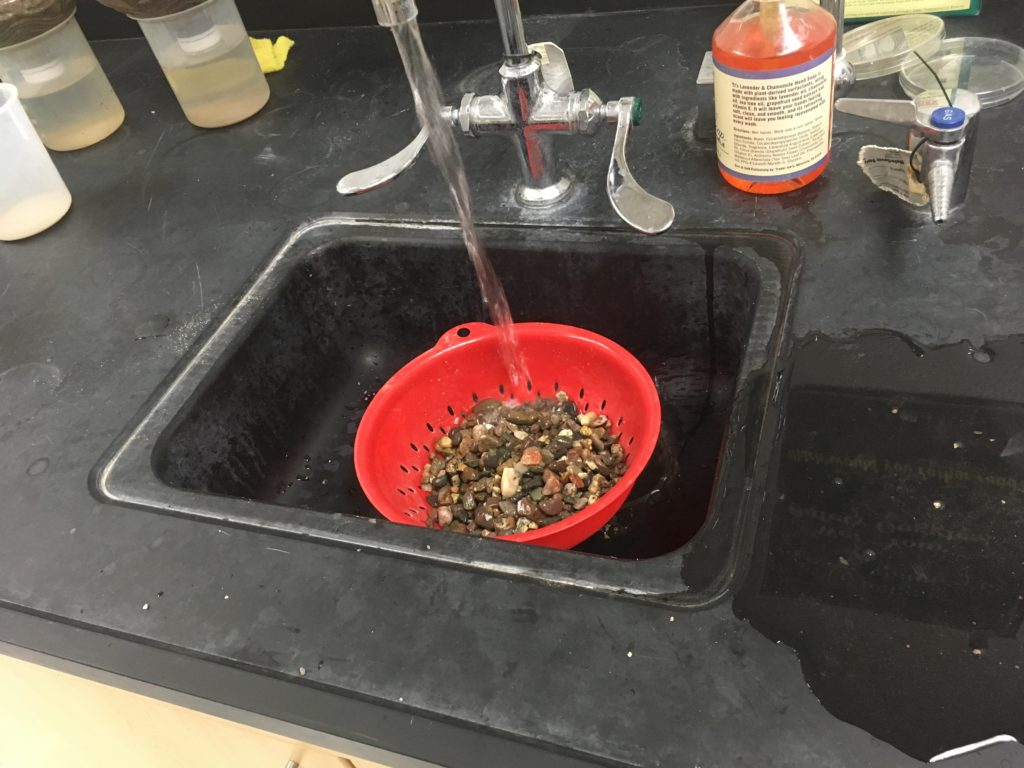
Filling a colander with gravel to take to the sink and wash thoroughly
Washing the gravel
Filling a chamber with gravel and then potting soil
10 thoughts on “Cutting and Filling Ecocolumns”