Students learn not only about the effects of increasing acidity in the ocean on marine organisms, but also practice their experimental design skills in this Ocean Acidification Lab. In addition, the lab helps students practice NGSS Science and Engineering Practice #3: Planning and Carrying Out Investigations. Click for a copy of the lab.
Materials Needed for Ocean Acidification Experimental Design
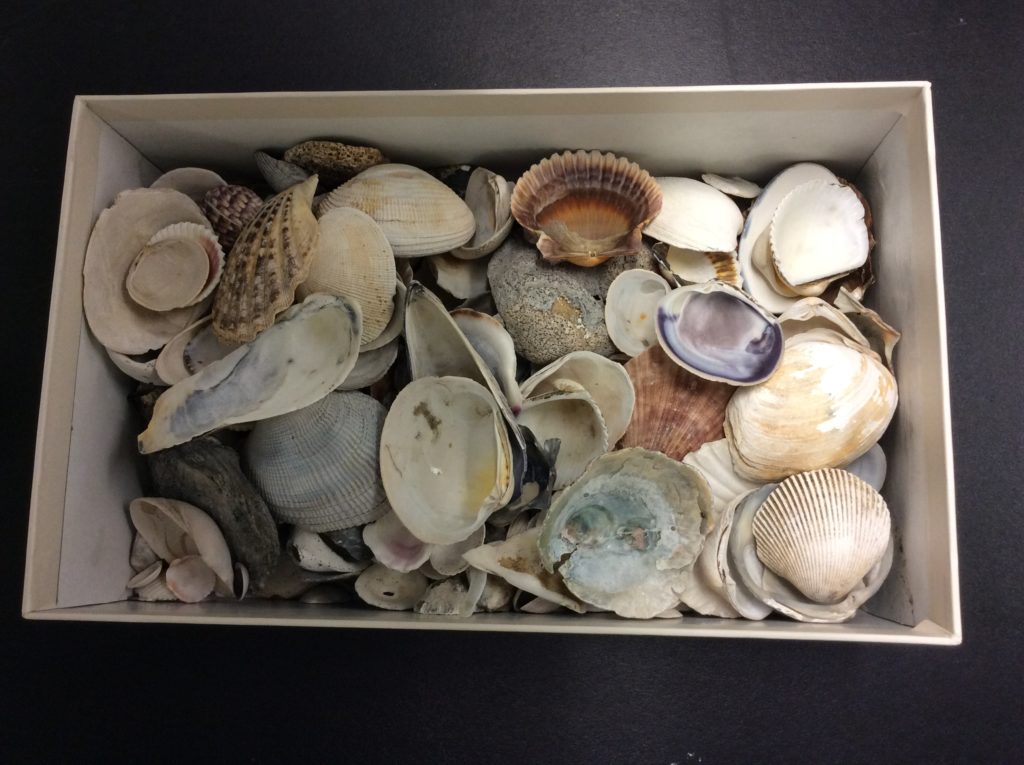
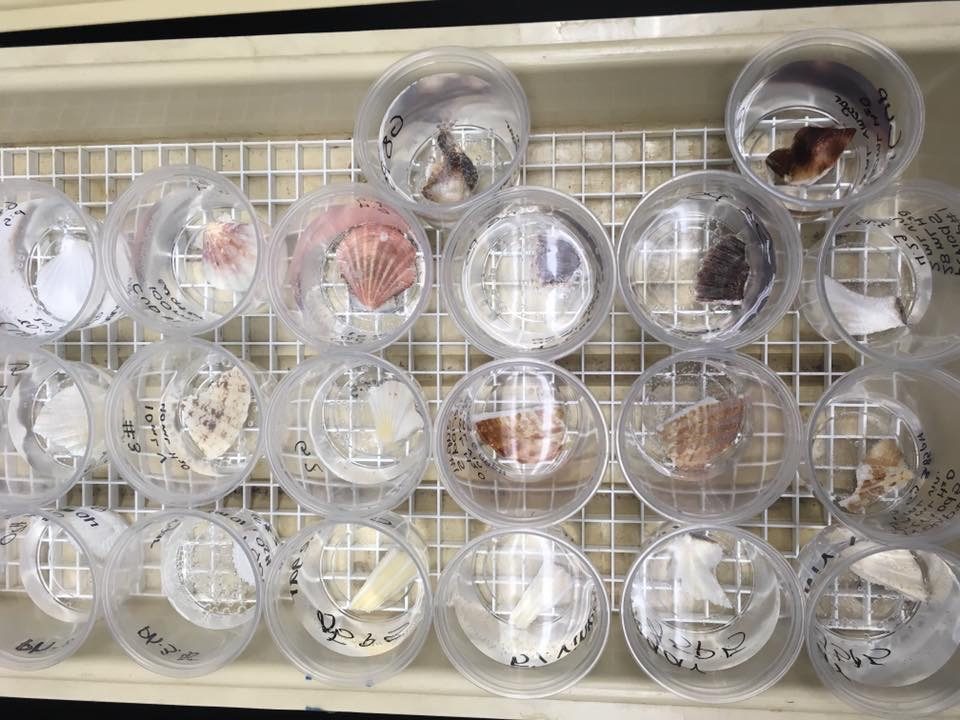
- Shells: MUST BE MOLLUSCA (Flat shells like clams, mussels, and scallops). NO GASTROPODA (Snails). Too much solution gets stuck way up in the Gastropod shells and will actually cause the mass to increase and not decrease due to water weight. Ask students to donate shells. Many have boxes in the garage that are no longer wanted. You can also go to a seafood restaurant and ask for their clam, mussel or oyster shells. I like to eat pasta with mussels at home so I save my shells sometimes. You can also buy at craft stores, but they are usually very small and not the best for the lab, but will do in a pinch.
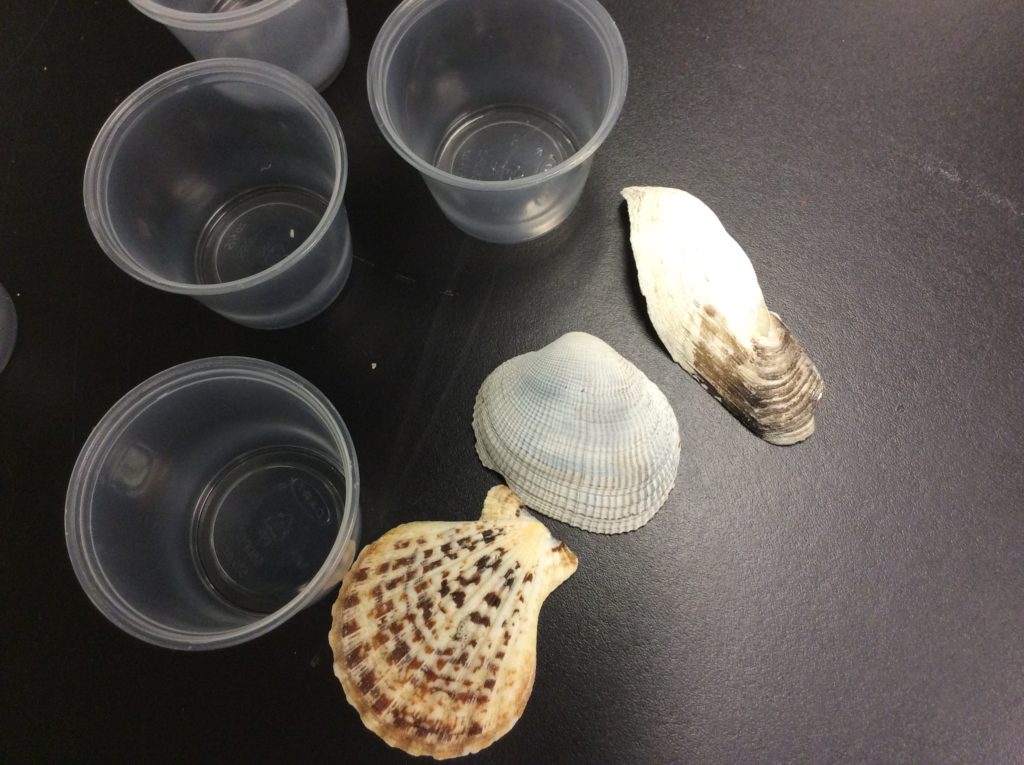
- Soaking cups or small beakers. I use soaking cups since I don’t have enough beakers for multiple classes to soak for several days. I buy small plastic cups at Smart N Final (a restaurant/public supply store). The 5 1/2 oz size is a good size for this lab. Plastic drinking cups are fine as well. I allow students to have 4 cups per group (I have groups of 4 kids).
- Vinegar as the acid. Some teachers use other acids, but since I don’t teach chemistry, I find vinegar the easiest and it doesn’t have to be specially disposed of.
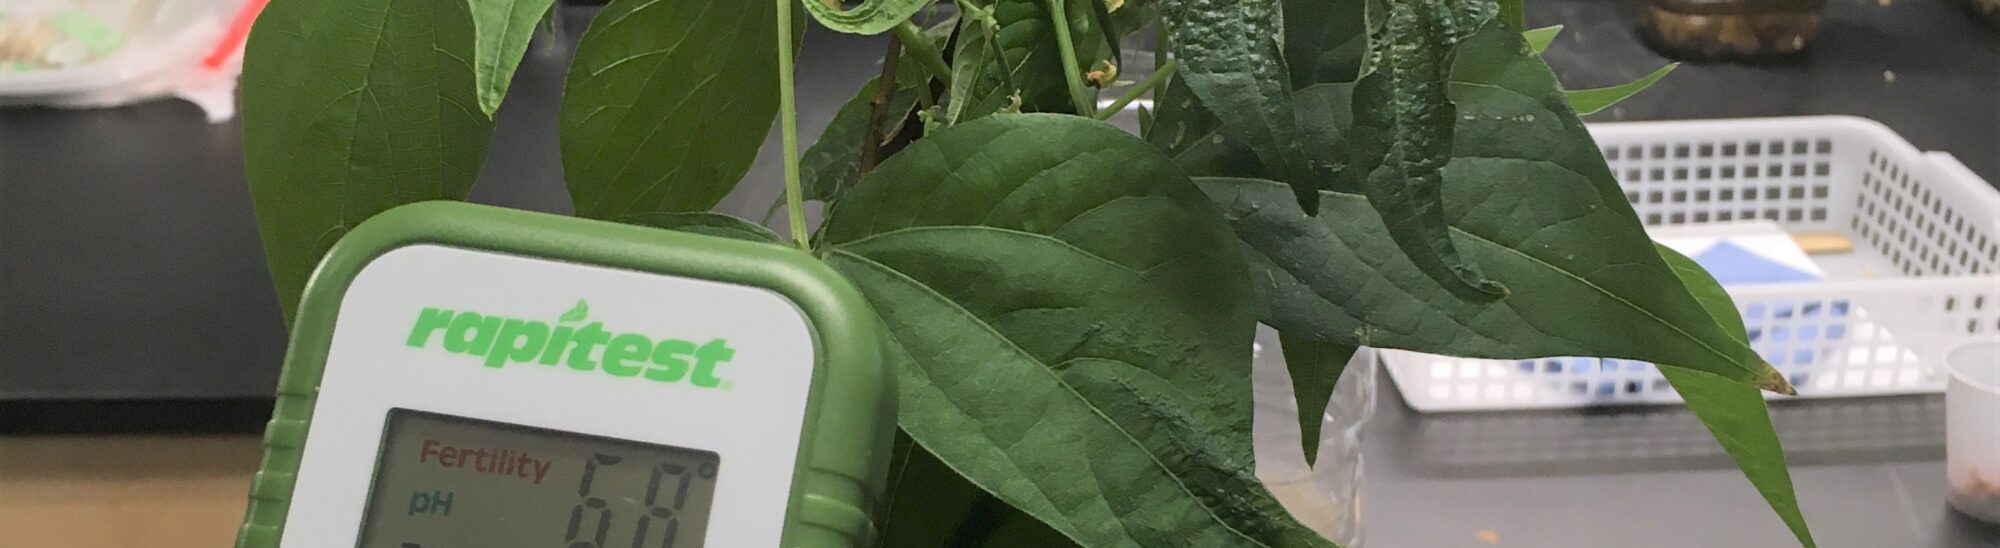
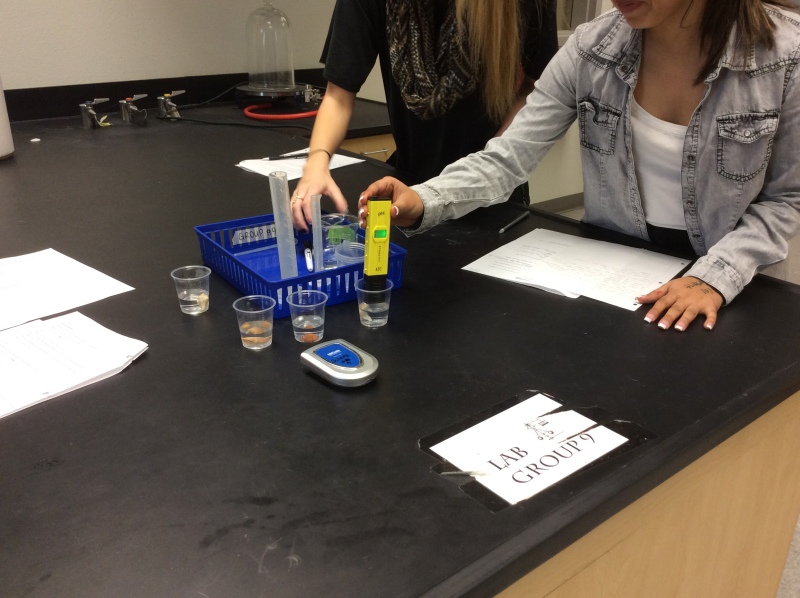
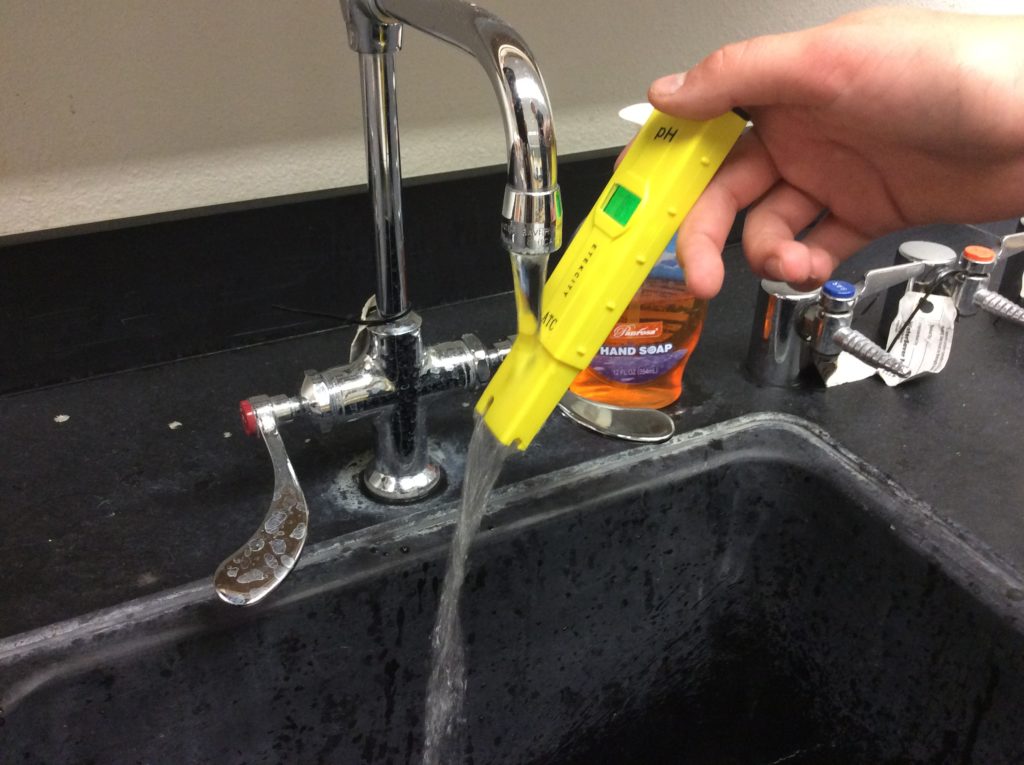
- pH testing: You can use pH paper , but a meter will help the kids with more exact pH measurements. The other problem with pH paper is that vinegar drops the pH so rapidly that many of the cups will have a similar pH and students need to see the slight different that a pH meter will show. Probes are better, but many cheap ones break over time.
- Two graduated cylinders per group. Use one for water and one for vinegar to avoid cross-contamination.
- Two plastic disposable pipets per group (optional). Helps students measure precisely using the graduated cylinders.
- Water: I use tap water since my tap water is slightly basic which mimics the ocean. Tap water also has minerals which is similar to the ocean. If you can, collect ocean water for more authentic results.
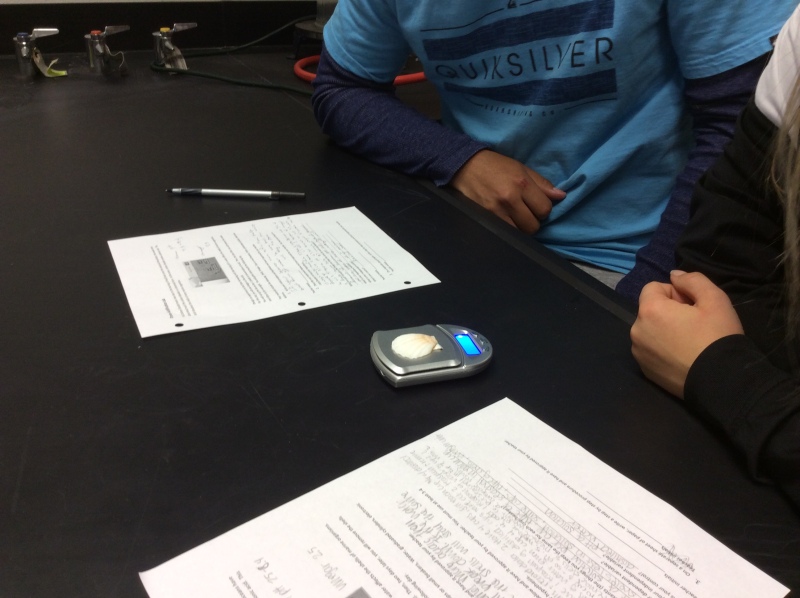
- Scale: Any electric scale is good as long as they go to the tenth place in grams. I have a set of pocket scales that I ordered using a Donors Choose grant. If you have some money, pocket scales are inexpensive $10-15 and nice for groups to have their own. Amazon sells them for cheaper than science supply companies. I have this type of scale in my lab
- Sharpie to mark the cups
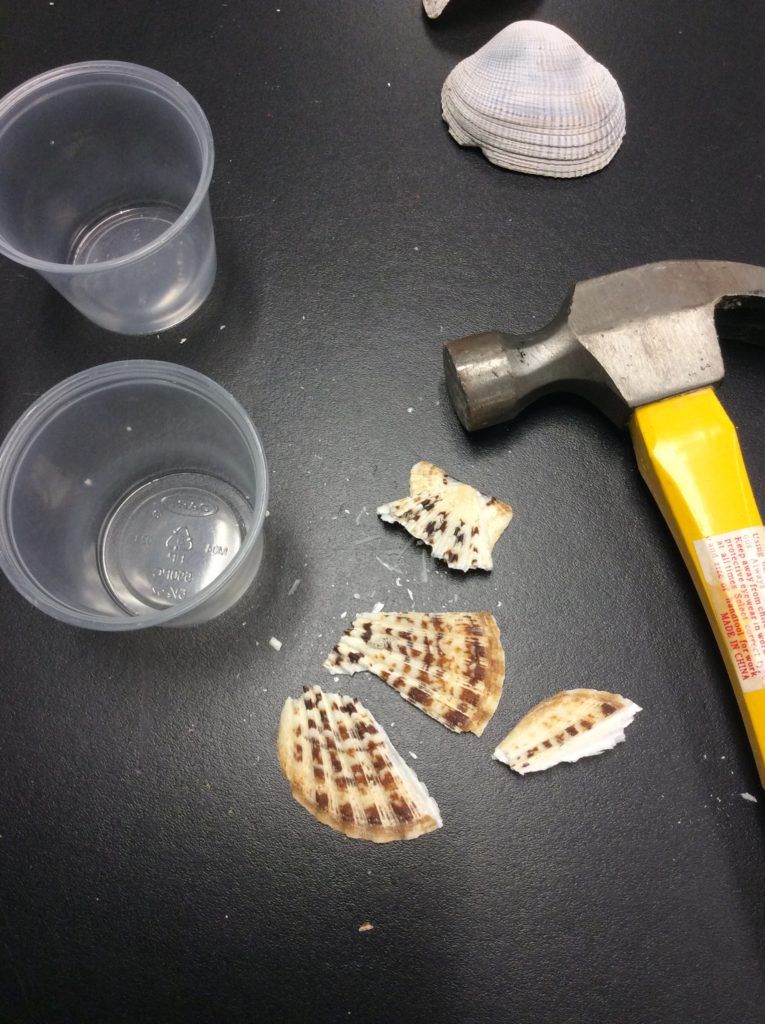
- Hammer (optional) for shells that are too big for the cups.
Need idea for funds to purchase new equipment? Read about my favorite sources for funding.

Pre-Lab
Students discuss the design in their groups and fill in the lab paper. I have all the materials they can use in the middle of their table to look at as they brainstorm. The visuals are good for many students such as English Learners and Resource kids. I let them handle the materials also as they figure out how to set up the lab.
Students must get 3 different signatures/initials from me. Most groups need to refine their initial question to make it more “high-school” level. (NGSS SEP #1). I ask them to use words such as “increasing” and “decreasing”. This also helps them refine their language in a way that is beneficial on AP® Exam FRQs.
- One cup must be a control with water and shell only.
- Students may not use more than 50% vinegar. (You can even make this number smaller)
- Students need to figure out the total ml of solution in each cup as a constant. They can do this by testing how much solution is needed to cover the shells using a graduated cylinder.
- Its best to direct the students to use % of vinegar in their cups instead of designing around pH. If students want 4 cups with pH of 7,6,5,4 for example, this is very difficult as it requires a titration and will take students FOREVER in the lab to make their cups. Instead, students should have cups with 0% vinegar, 5%, 10%, 25% etc. They can decide which ones–that’s the point of experimental design.
A procedure is optional for my students. I have them outline what’s going in each cup (amount of water and vinegar) and many draw pictures on their paper. Once they have this information, a procedure is usually not necessary. But that’s up to you.
Lab
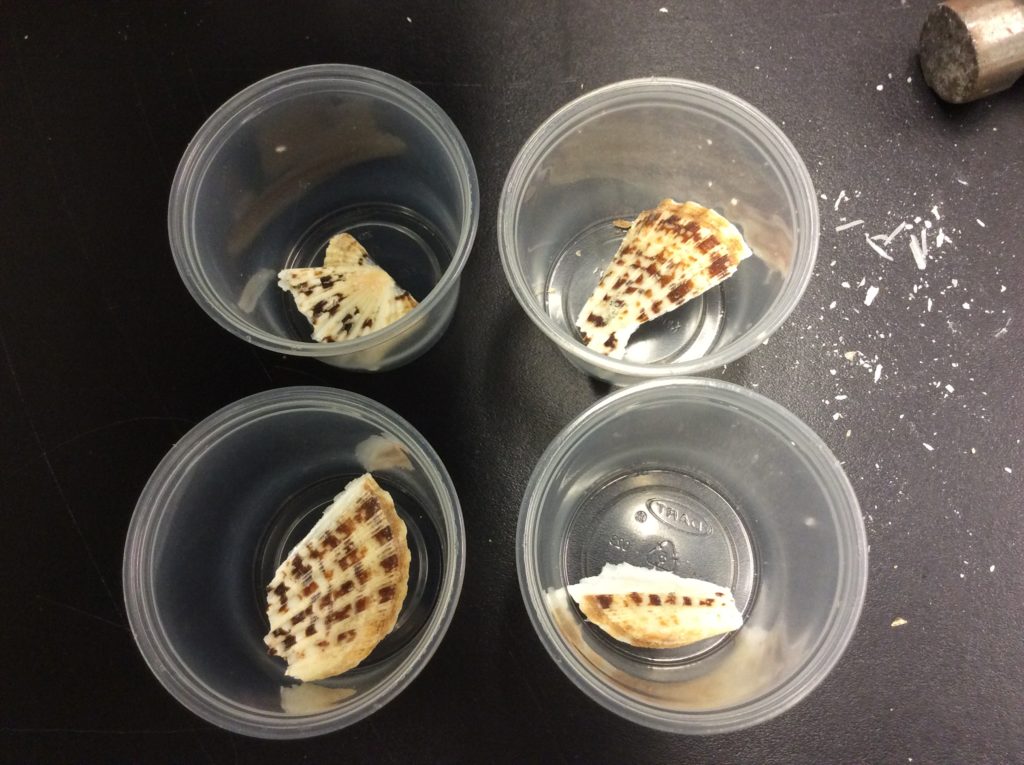
Students need to find 4 shells that are as identical as they can find (species, thickness etc). They can also take a larger shells and break into 4 pieces. The mass of each doesn’t have to be the same, because students are measuring percent change.


Students prepare the four cups using the materials.

Shells stay in solution for 3-4 days (or longer)
Three to Four Days Later (or more)
- Students remove shells from soaking cups.
- Students need to measure the pH again. This is a great time to talk about buffering!
- Students dump solutions in the sink and replace shells in their cups (make sure they don’t mix them up)
- Allow shells to dry for 2-4 days. Shells MUST dry all the way or the students will measure an increase in mass due to water weight.
Buffering (from my chemistry buddy, Laura Solarez)
The pH will rise during the soaking time due to the release of Calcium Carbonate from their shells. The resistance to a pH change with the addition of acid is known as buffering. This is an important concept when teaching about acid rain or acid mine drainage.
As the calcium carbonate from the shells dissolves, it binds with the acid, neutralizing it. In this lab, CaCO3 + HC2H3O2 (vinegar) –> CaC2H3O2 + CO2 + H20. The bubbles seen in the cups are CO2 and H20 as the reaction occurs.
Calcium carbonate is the same component of limestone that is added to reduce the amount of acid in lakes from acid deposition.
In water saturated with CO2, in the oceans, the calcium carbonate can form calcium bicarbonate, but it is still weakened and will degrade the shells. If the water is acidic, it will try to neutralize the acid, breaking down into CO2 again and adding more CO2 to the oceans.
Three to Four days later (or more) when the shells are completely dry.
Students now measure the mass of their shells and calculate percent change.
Assessment can follow in many different ways as you prefer. Graphing, analysis questions, referencing articles about ocean acidification, formal lab write-up, Claims Evidence Reasoning, etc.
I like to do group lab reports for this lab. You can read about how I do that here.
10 thoughts on “Ocean Acidification Experimental Design Lab”